|
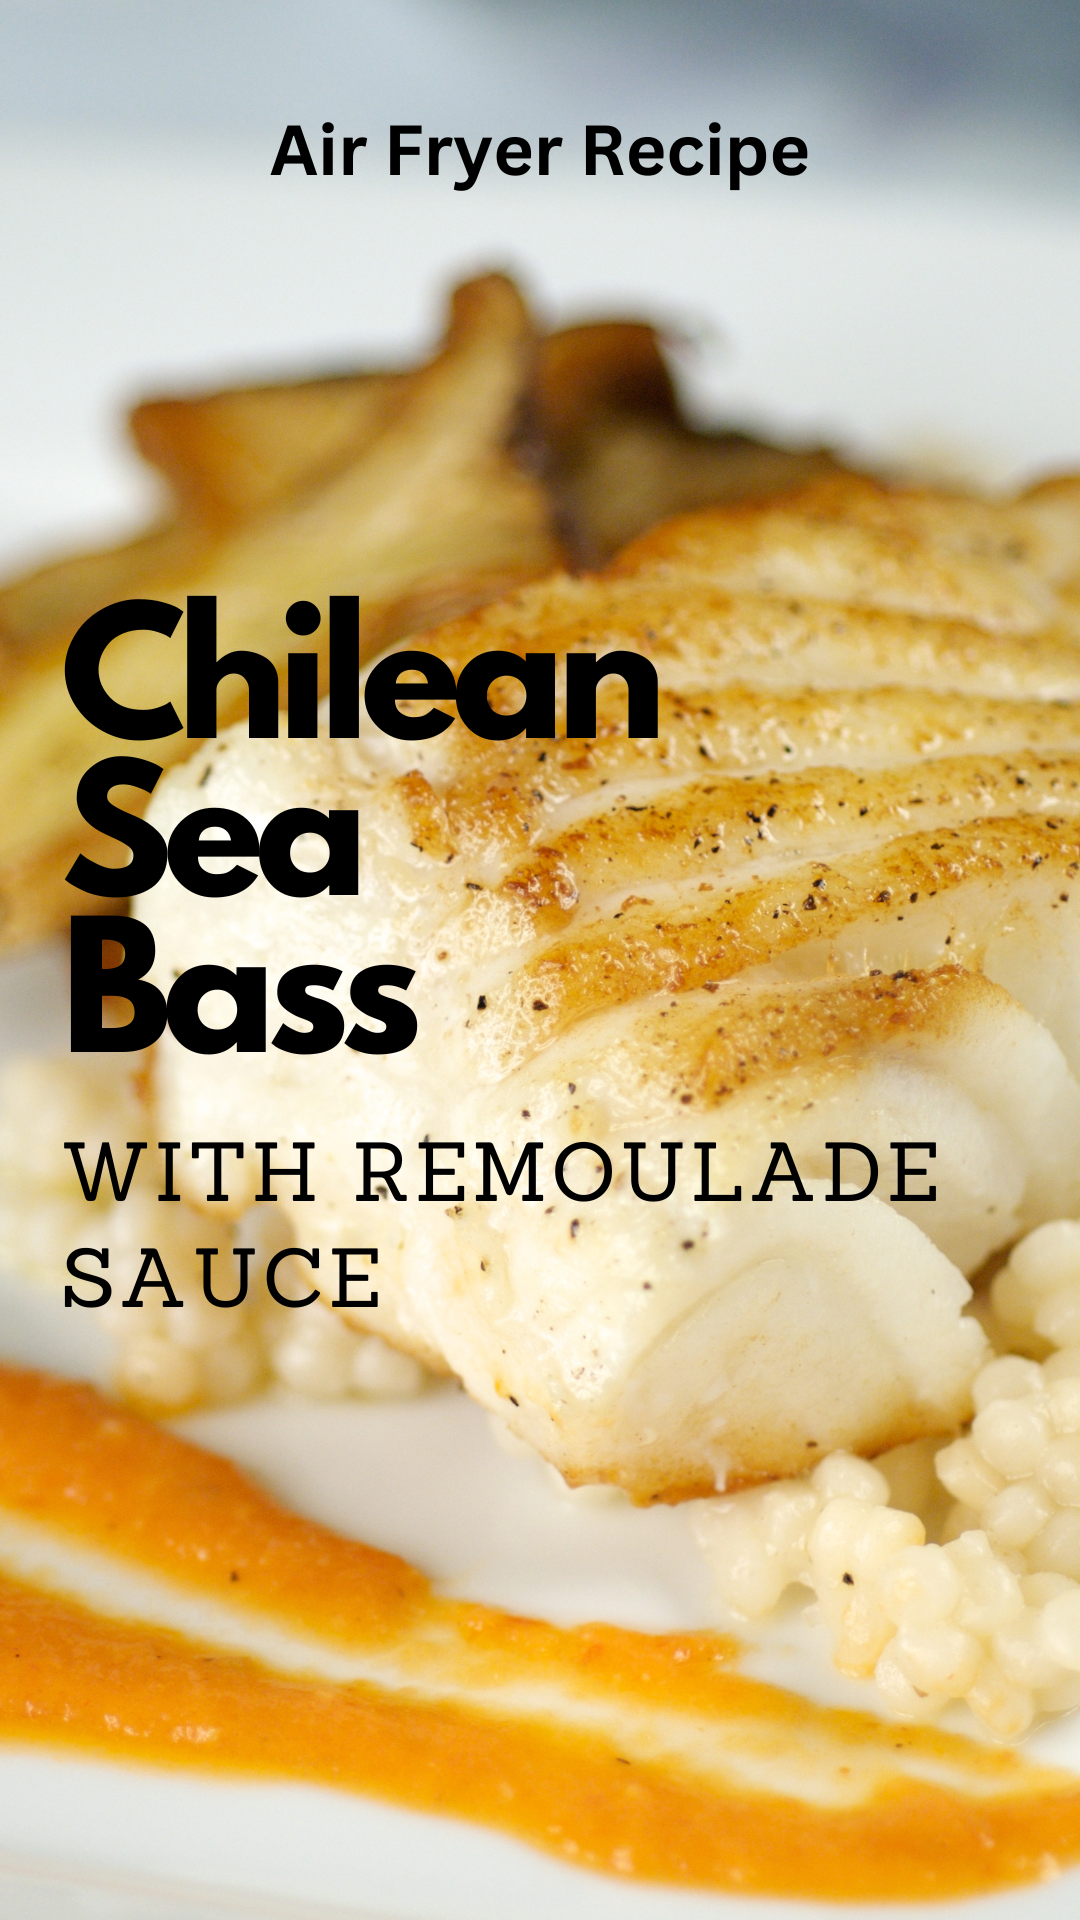
Chilean Sea Bass is a white fish that oftentimes is compared to Cod. Not just any Cod. A Cod that's buttery, flaky, and melts in your mouth. Because of the high content of fat in the Sea Bass, it keeps the fish moist while cooking. For those that enjoy air frying, this is a perfect fish that holds up to the high heat.
This particular fish is a fan favorite. My Aunt Marge shared this recipe with the air fryer chat group last year. She said it's so delicious and her kind of entrée. To get this much flavor in a short amount of prep and cooking time is unheard of. According to the U. S. Department of Agriculture, the mild-flavored, flaky, white fish is high in Omega-3's, Selenium, and it's packed with protein. Omega-3 is the healthy fat that helps support your heart. Selenium helps with cognition, immune system function, and fertility. We all need protein in our daily diet and three ounces of sea bass provides at least 1/3 of that requirement. Now that we know the fish tastes good and is good for our health, let's dive right in and share the recipe. Ingredients: For the fish Four - 3 ounce pieces of Chilean Sea Bass Two T. EVOO Salt and Pepper to taste 2 tsp. honey 1 tsp. soy sauce Pinch of red pepper flakes Toss the fish in the oil, salt, and pepper. Mix the honey, soy sauce, and red pepper flakes together and set aside. Set the air fryer on 390 degrees. Preheat. Cook the sea bass for four minutes. After four minutes. Stop the fryer. Brush on the honey mixture and cook for another two minutes. Remoulade Sauce Ingredients: One cup of mayonnaise 1/2 of a fresh squeezed lemon 1 T. hot sauce 1/4 cup of ketchup One clove of fresh garlic (minced) Handful of fresh dill (chopped) Cracked black pepper to taste 1 tsp. garlic powder 1/2 tsp. paprika 1/2 tsp. cayenne pepper 1/2 tsp. onion powder Mix all ingredients. Set in the refrigerator for 30 minutes before serving with the sea bass.
0 Comments
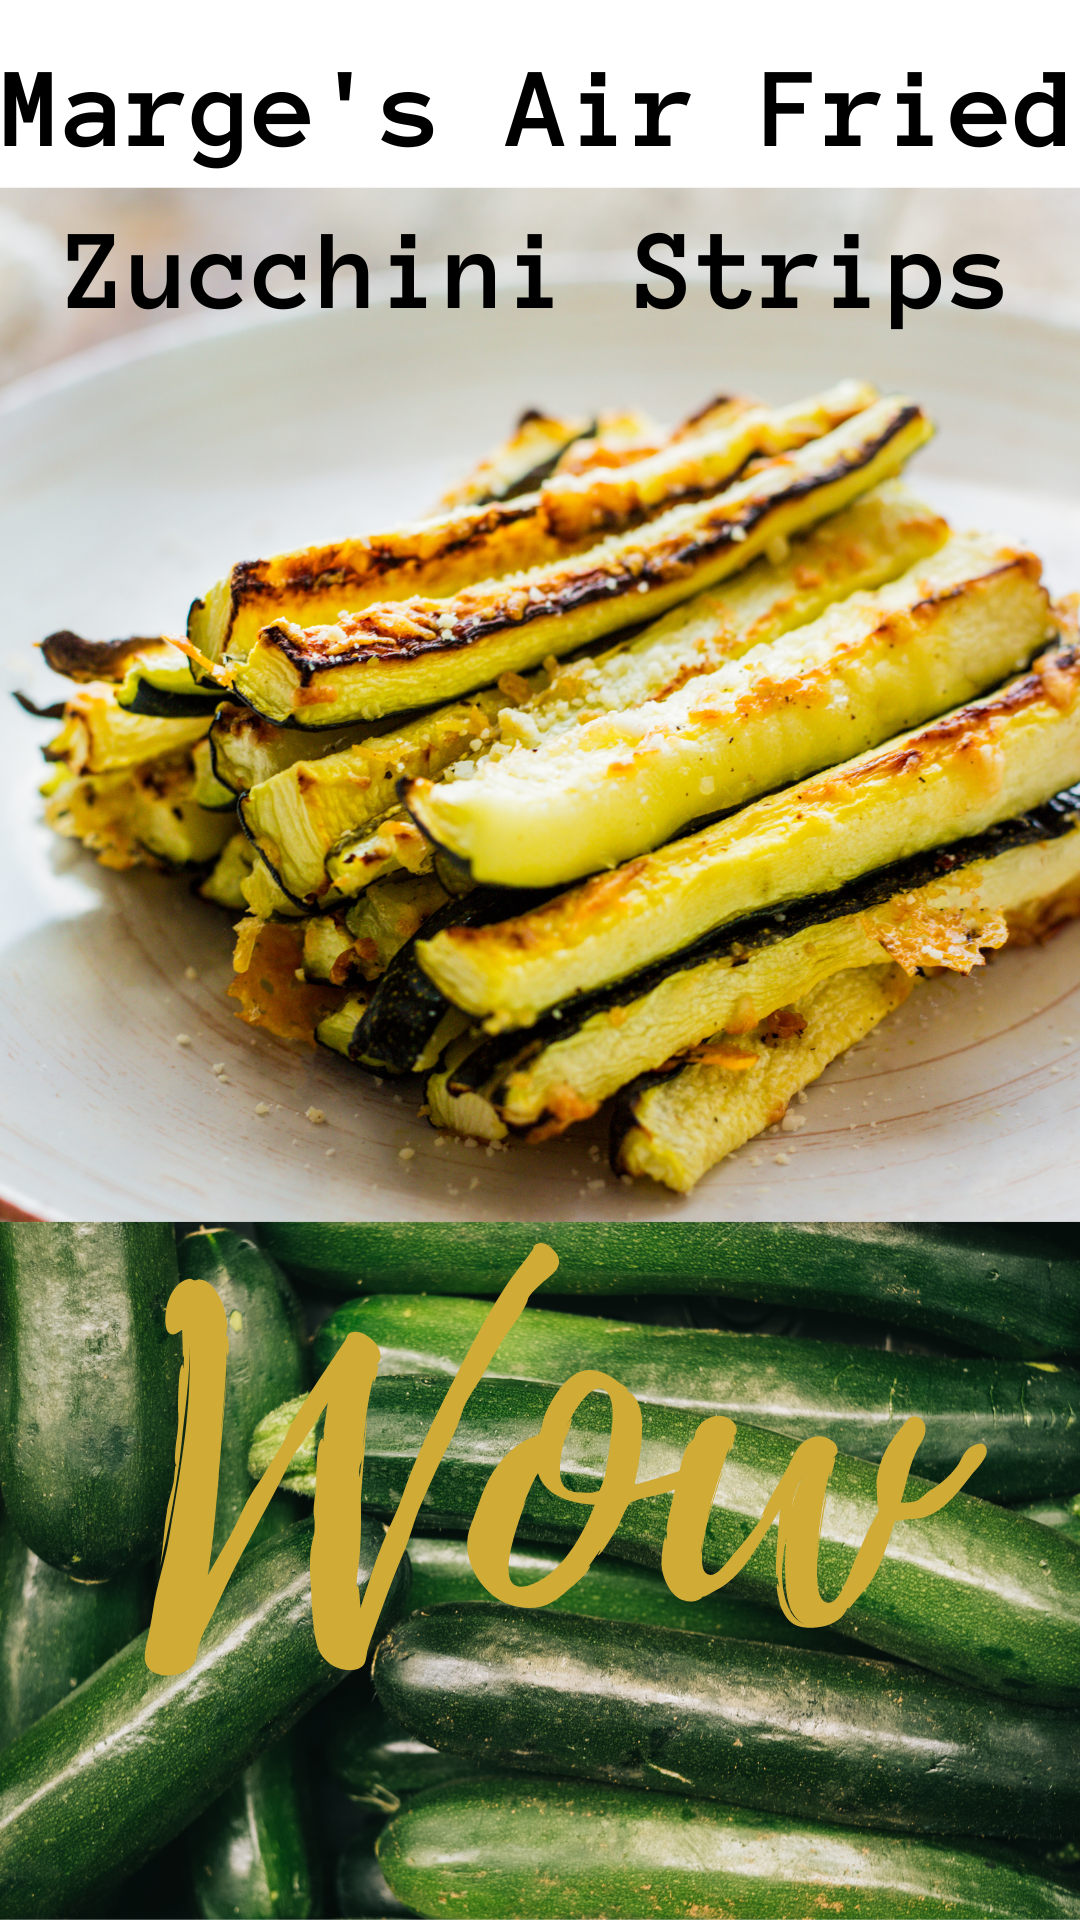
Zucchini is on the menu during summer's hottest days. With the convenience of an air fryer, a crispy garden-fresh zucchini veggie is on the smart-eating meal plan. I've always admired my Aunt's cooking skills. Several years back, Marge was living in Memphis, TN. I went for a visit, can't really remember why. She had created a recipe for chicken enchiladas and wanted to share it with me. Both of us decided to try to elevate it. Long story short, it was a collaboration that was a winner. More on that another time.
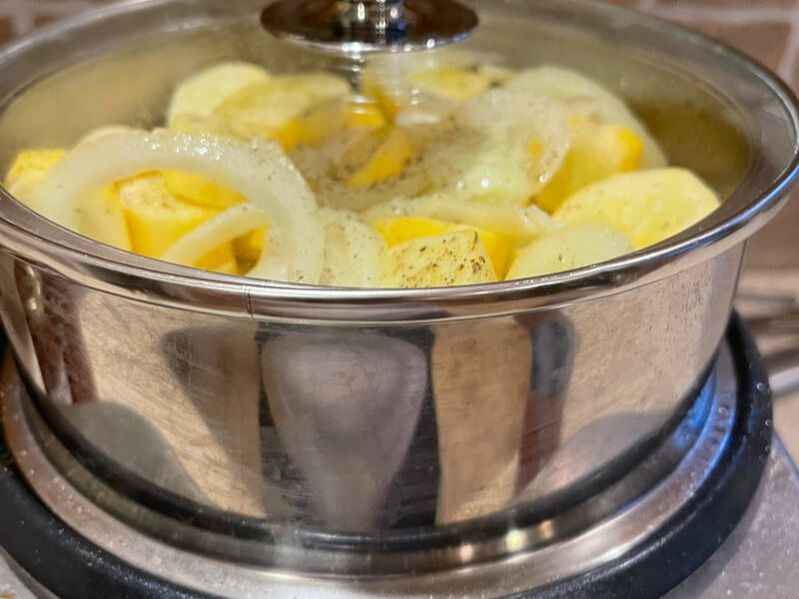
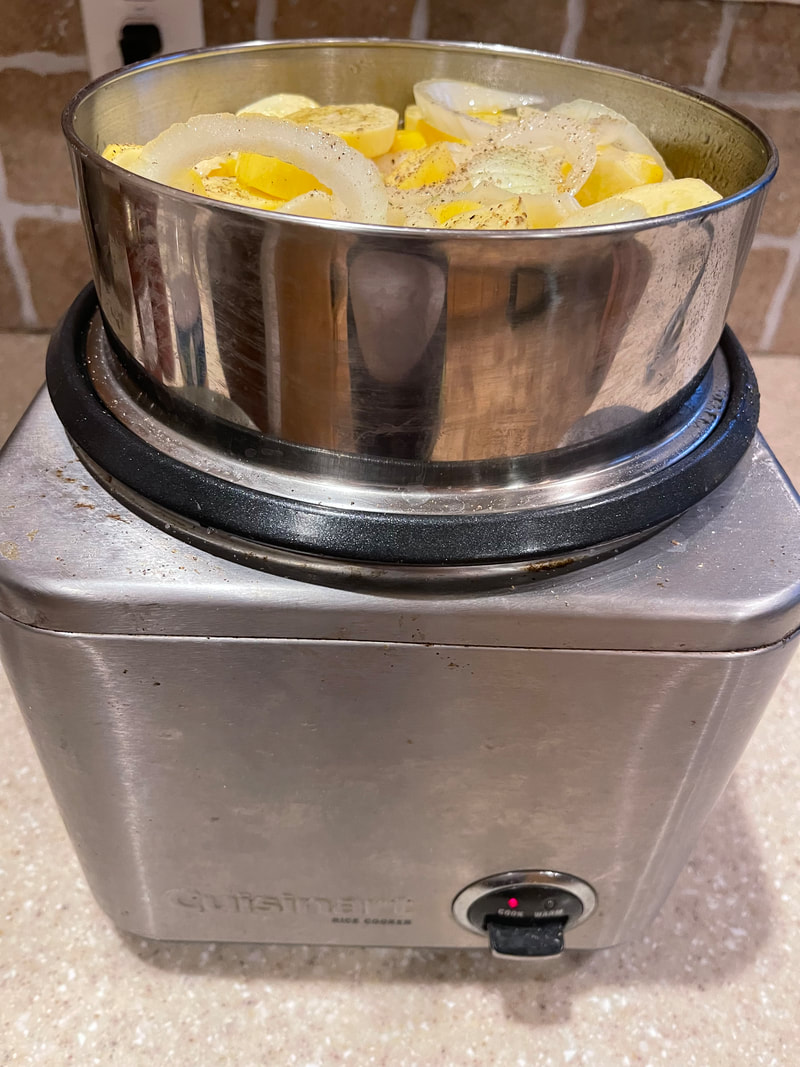
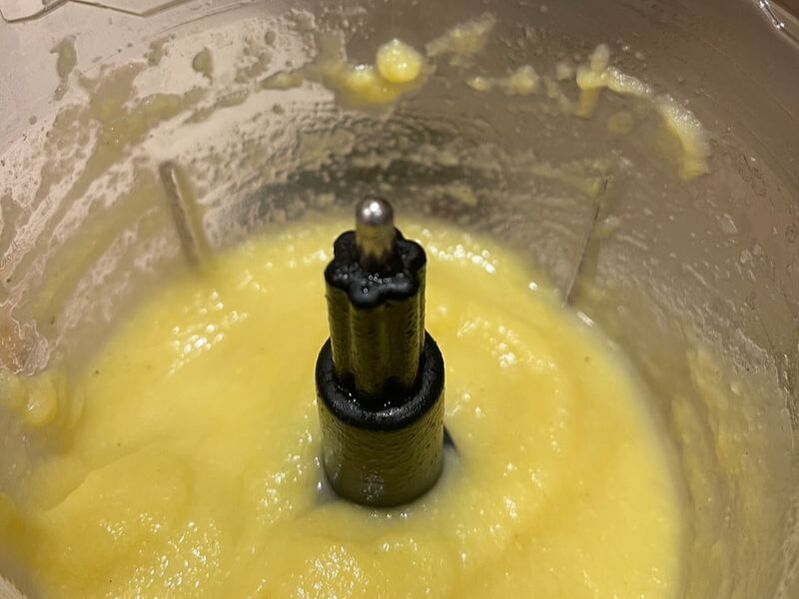
It was at the tail-end of the pandemic when we, see members below, set up an air fryer chat group. It was me, Marge, my Mom, and my friend Jody. Jody is married to my uncle. She's younger than me, so I don't call her Aunt Jody. The recipe for crispy zucchini evolved from the chat group. There are several more to share. Keep reading and watching for these quick and easy dishes. Ingredients: Six medium-sized zucchini (cut into strips) 2 T. of EVOO A cup of breadcrumbs 1/2 cup of grated Parmesan Cheese Salt & Pepper to taste Directions: Toss the zucchini strips in the EVOO and salt and pepper. Mix the breadcrumbs and Parmesan cheese together. Roll the zucchini strips in the mixture. Don't coat it. Set the strips in the breading mixture and toss over it with your fingers. Spray your air fryer with EVOO or coconut oil (solid or liquid...just use a paper towel to brush on the pan). Air fry at 390 degrees for 10 minutes. Go ahead and preheat the air fryer before adding the zucchini strips. 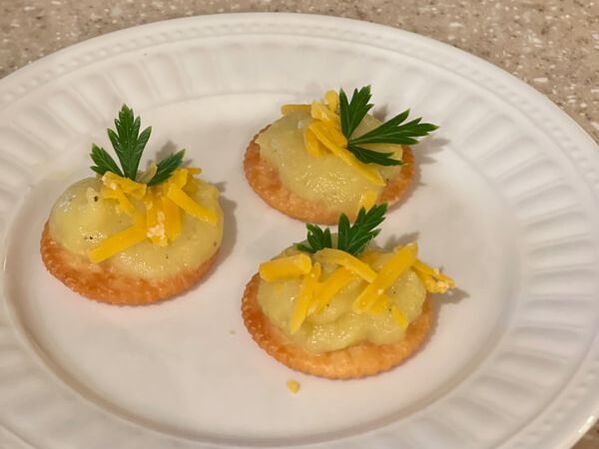 Fresh yellow squash puree enriched with onions and garlic served on a buttered Ritz cracker, topped with shredded cheddar cheese, and a sprig of Italian leaf parsley. As mentioned in the caption under the steamer picture, I've had the Cuisinart stainless steel steamer for 20 years. It's handy for fresh vegetables. Typically, I'll steam carrots and broccoli. This is a first for squash. Since I was making a puree, I decided steaming was the best way to keep the veggies from being waterlogged and to maintain the vegetable's nutritional value.
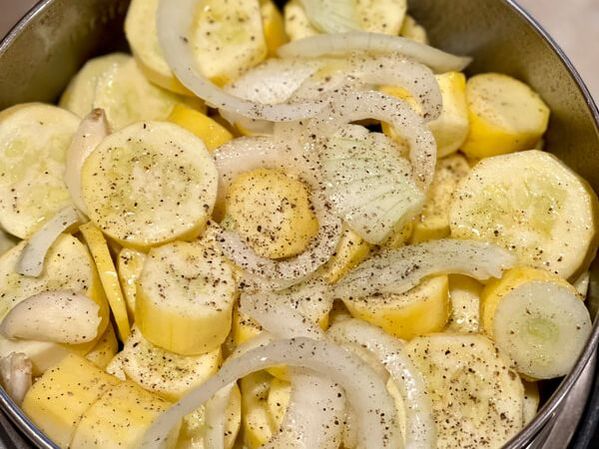
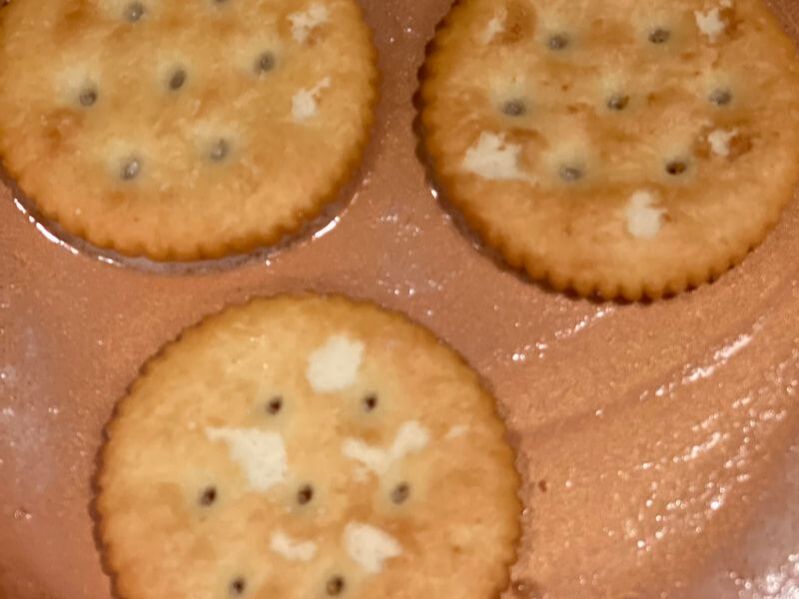
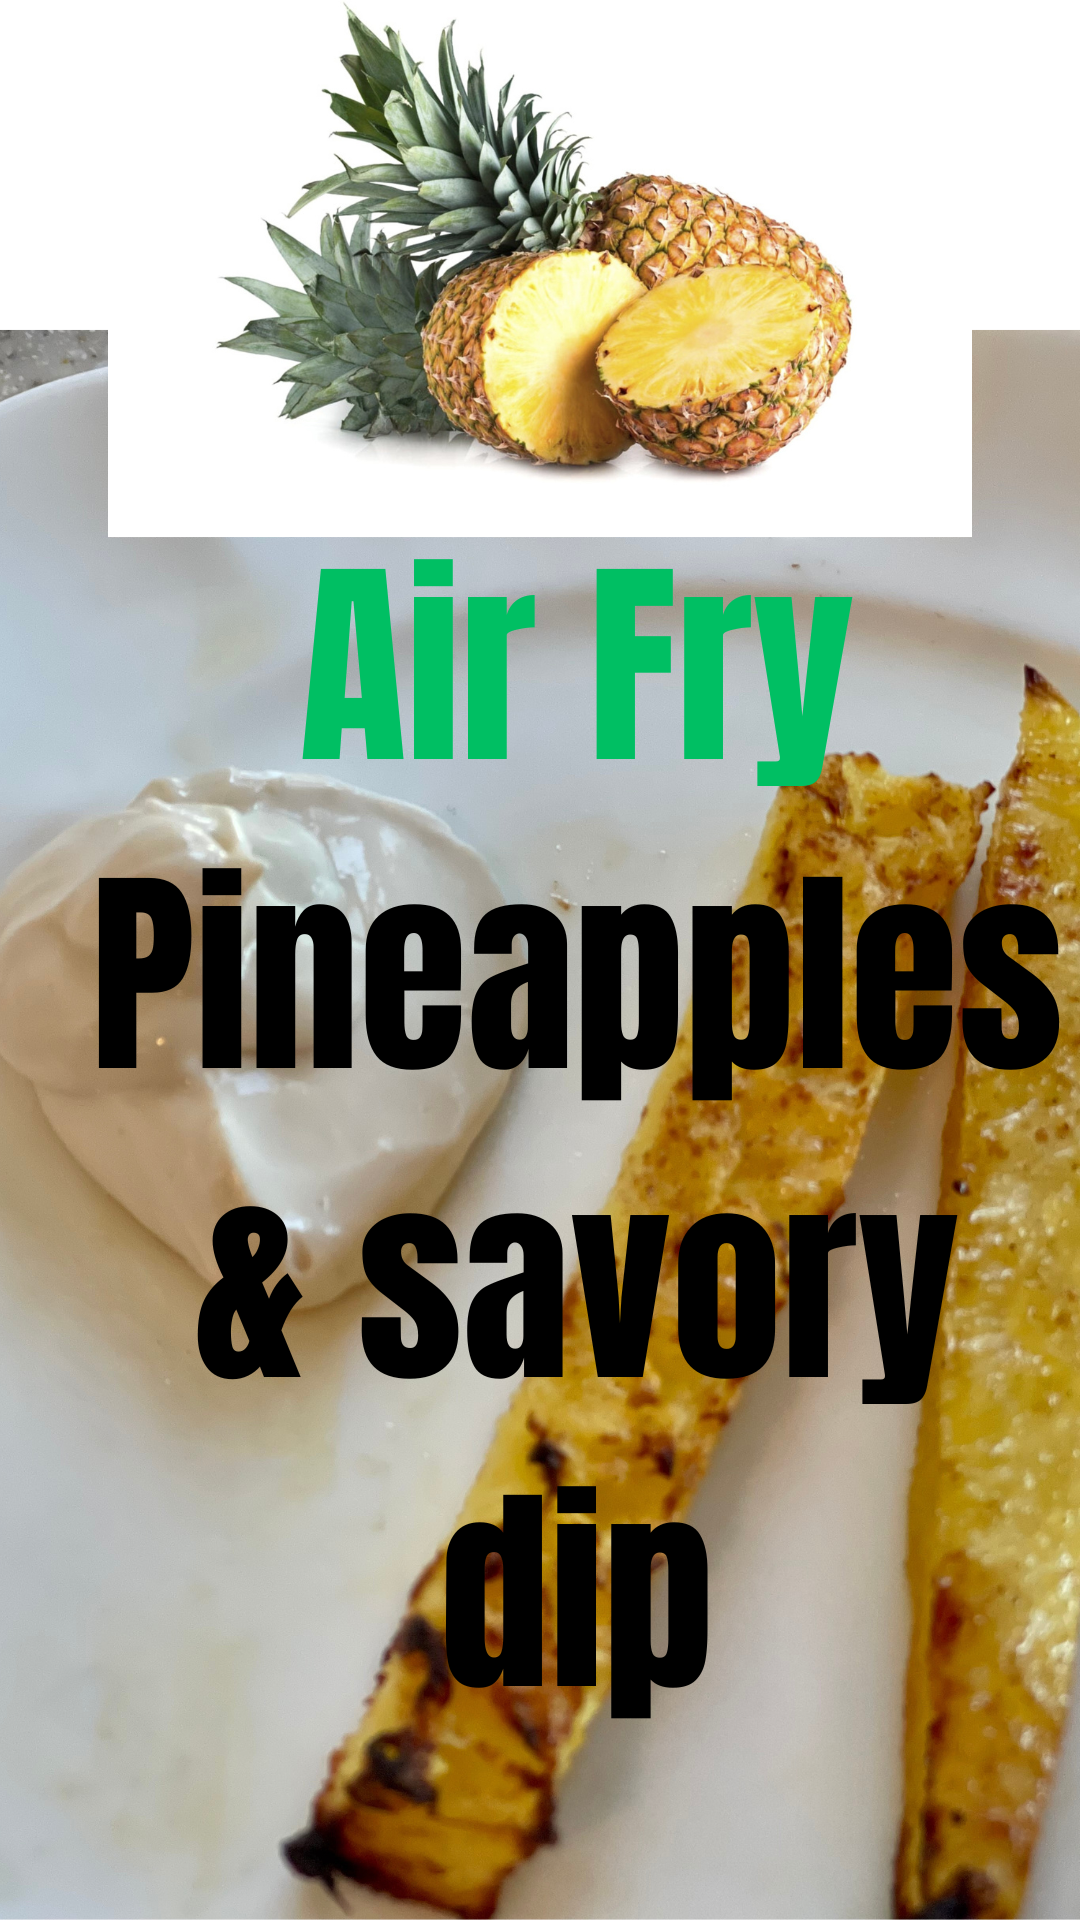
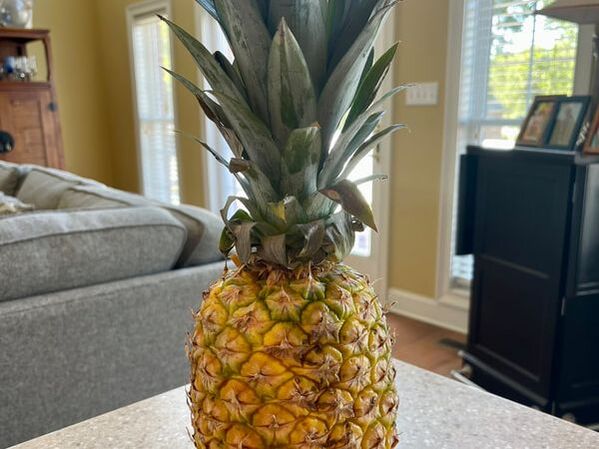
Nutritional value? By submerging vegetables in water, vitamins B & C, as well as, antioxidants cause nutrients to leach out into the water. Interestingly, I never thought about making a puree by steaming as opposed to boiling. It's perfect. I had some leftover puree, after making the Amuse-bouche, so I'm going to make a squash casserole. First, I'll add cream cheese to the puree along with some cheddar cheese and place it in a casserole dish. Top it off with some buttered, crumbled Ritz Crackers. Bake it at 350 degrees for 20 - 30 minutes. I'll wait until it's bubbling on the sides to pull it out of the oven. Yum. Anyway, back to the Amuse-bouche. I got the idea for the buttered Ritz Cracker from Chef Sara Bradley. While on Top Chef, contestants had to make an Amuse-bouche (I believe, it could've been an appetizer only). Sara said she warms Ritz Crackers in a pan with butter all the time at the restaurant. I decided to give it a whirl. I'm glad I did. I'll use this tip moving forward. Let's get back to the original recipe. It's fresh, yellow squash puree on a buttered Ritz, topped with cheese and a garnish for color. Ingredients: Six medium size yellow squash. Cut off the tops and peel it like you would a cucumber. Chop into round slices about 1/4 inch thick. Three slices of yellow onion (no need to chop) Two garlic cloves (just smash it once and put in the steamer) Salt and Pepper to taste Ritz Crackers Tablespoon of butter Shredded Cheddar Cheese Garnish Directions: Place all three vegetables in a steamer or boiling water...if you must Salt and Pepper to taste. Add spray butter to the veggies (not much) Steam for 15-20 minutes or until you can stick a fork through the squash. Let the steamed vegetables cool for five minutes. Add to the blender. Puree. Add more salt to taste. Get your sauté pan. Add the butter. Add the Ritz crackers. Sauté' then flip and lightly brown the other side. Remove from the stovetop. Assemble. Ritz Cracker, Squash puree, cheese, garnish Sweet pineapples are made savory with the use of an air fryer for crisping and a sauce for dipping. Do you love your air fryer? I know several home cooks that use it regularly. My Aunt Marge, Mom, and friend Jody air fry for quick, easy, delicious meals. I could go on and on about the use of this kitchen tool. Today, I'm working on several online recipes. That's code for, "I'm going straight to the recipe." If there's more time at a later date, I'll come back to this post and fill in the holes. Check it out. Ingredients:
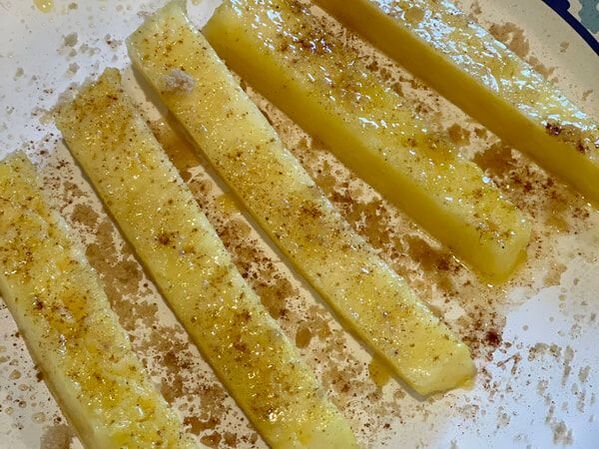
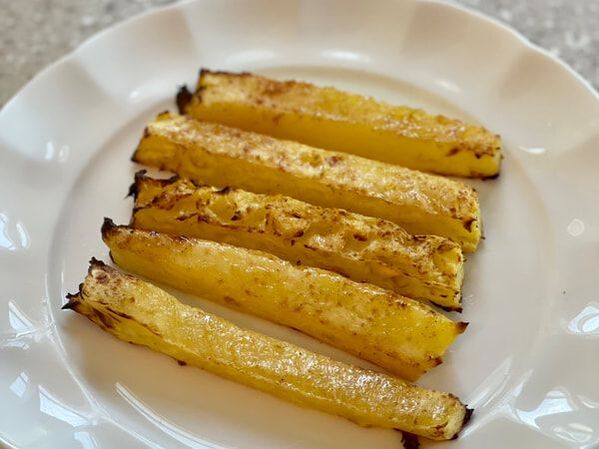
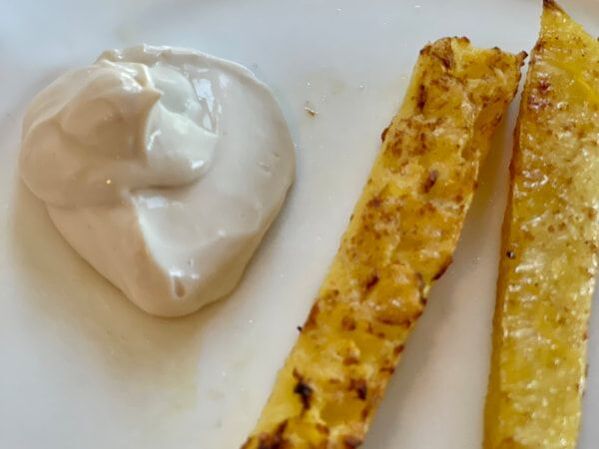
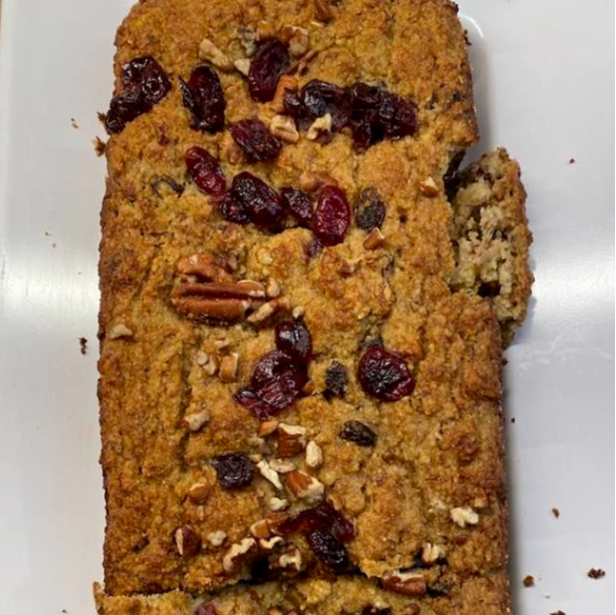
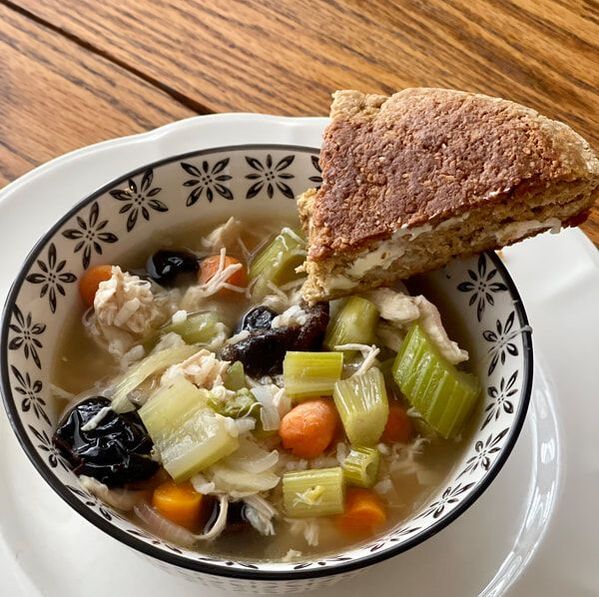
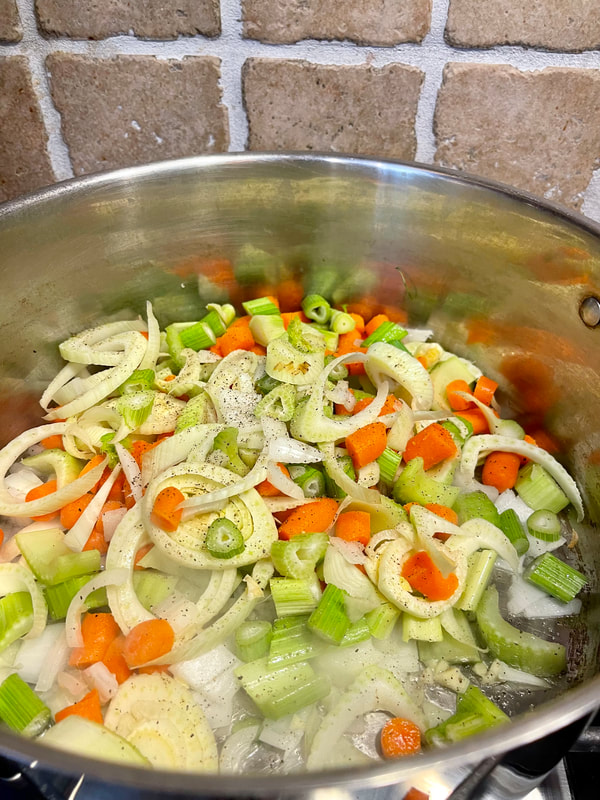
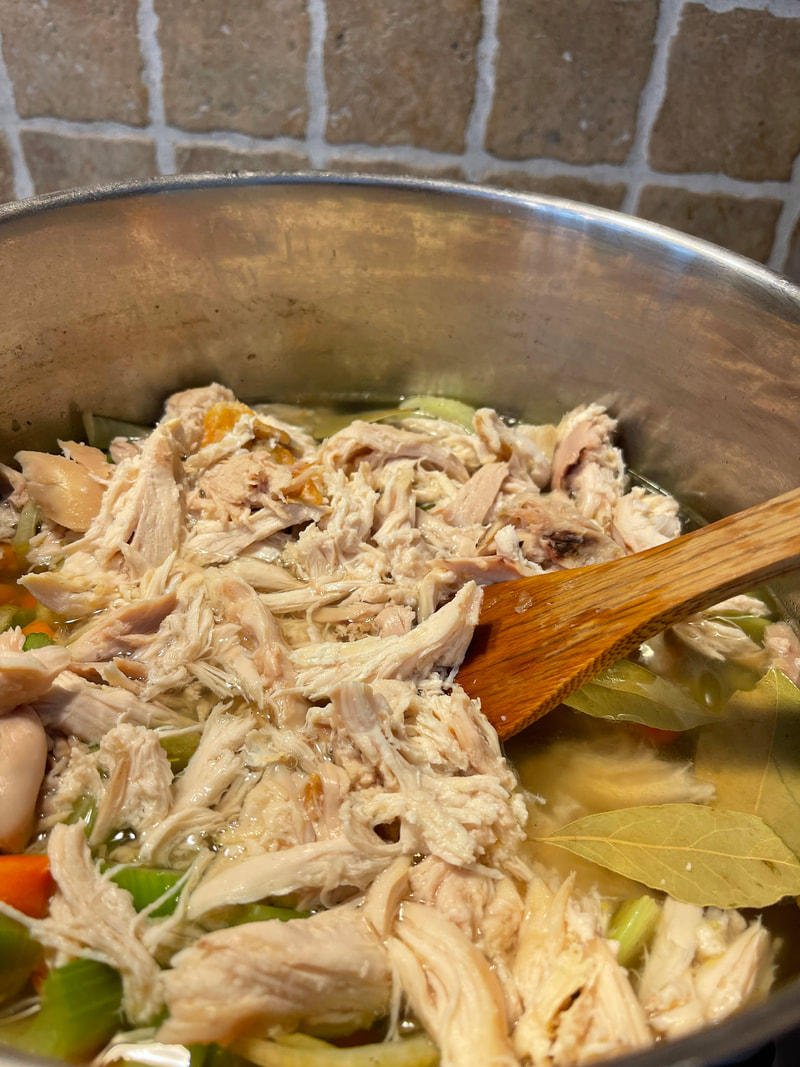
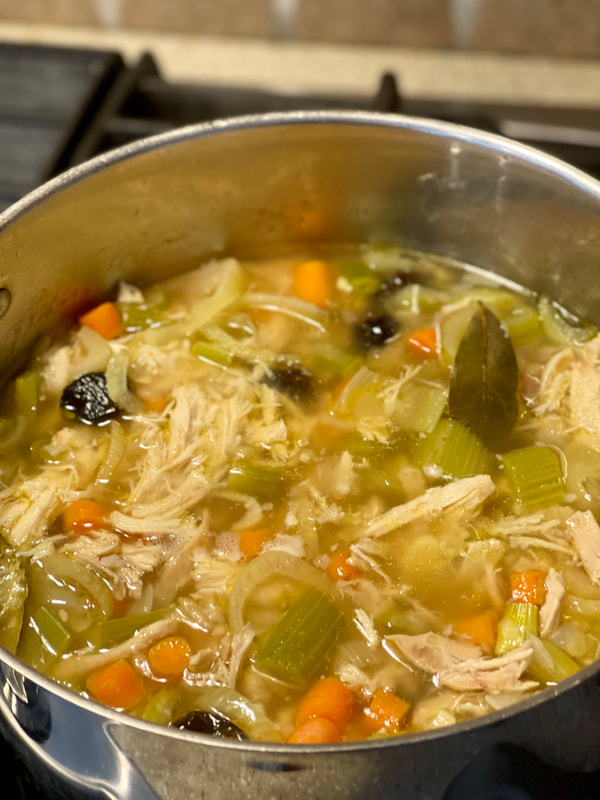
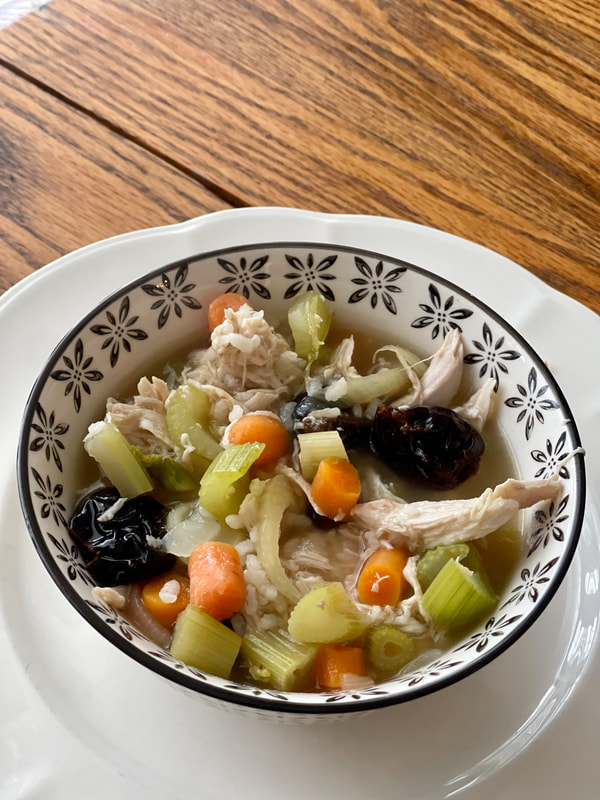
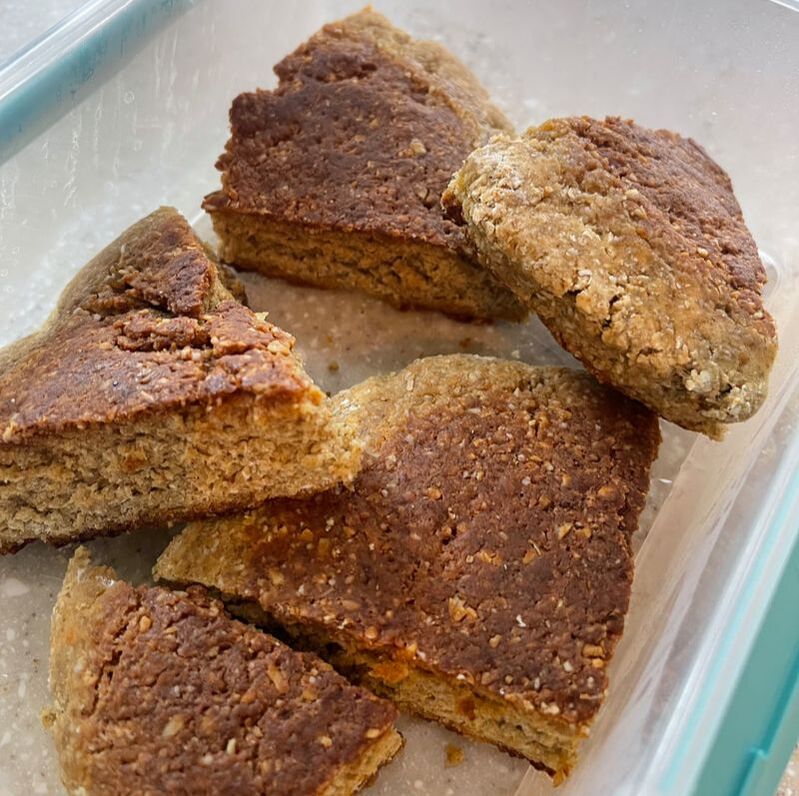
One whole pineapple cut into spears Brown sugar (light or dark) Cinnamon Spray butter Savory Dip: 1/2 cup of sour cream tsp. of hot sauce tsp. of low-sodium soy sauce As always, add a little coconut oil to the air fryer (coconut oil...solid or liquid is my go-to oil). Set the air fryer to 400 degrees. Add the pineapple spears with the added sprinkle of brown sugar, cinnamon, and spray butter. Fry for 10 minutes. Mix the dip ingredients. Dip and enjoy. Gluten-free fruit and vegetable breadChef Laura is a trained chef from Uruguay. Over a decade ago, we met at a restaurant, Martin Fierro. She, her husband Nestor, and her son Eugenio Nunez opened Martin Fierro in the fall of 2008. There were so many delicious recipes. Too many to mention. Today, she's sharing with us a gluten-free bread recipe. Enjoy! Try a combination of any of these four fruits or vegetables to include in your gluten-free bread. 1 apple, 2 pears, 1 banana shredded or 1 apple, 1 pear, 1 banana, 1 zucchini or 2 apples, 1 banana, 1 zucchini shredded Ingredients: Add 1/3 cup of oil 3 eggs 1 tsp cinnamon Pinch salt 1 tsp vanilla 4 envelopes of stevia or any sweetener you like Raisins, cranberries, walnuts or pecans, or almonds Dry ingredients 1 1/2 cup almond flour 1/2 cup oat flour( I blend the oat) 1 tsp baking powder 1 tsp baking soda Directions: Mix wet and dry ingredients and pour into a baking dish, Prepare the pan(s) with butter so it doesn’t stick, It's your choice. For this particular recipe, you may use one or two pans. Depending on the thickness you prefer. Bake at 375 for 40 minutes It’s super moist. Cock-a-Leekie Scottish soup is loaded with roasted chicken, packed with savory vegetables, and sweetened with prunes. It's a meal in a bowl. If a busy mom or dad read 99% of the online recipes for cock-a-leekie soup, there's probably no chance you would EVER try this recipe. Therefore, I've made it quick and easy. The great thing about this soup is that it's a complete meal. I used a whole roasted chicken, white and dark meat, several different vegetables, a broth, and prunes. In addition, I made a rustic Scottish bread called a Bannock. Click Scottish Bannocks for the recipe. I'm going to post a few pictures of the process and will publish the ingredients and directions after the photos. Let's get to it!
The title of the recipe mentions the Open. I'm referring to the British Open. It's that time of year. Golf competitions happen every weekend. If you're watching the tournament, you'll witness the cold rain passing through Prestwick Golf Club. Making soup may seem strange during the hot summer days in the Midwest, but not so strange if you were there. It's in the 60s with lows in the 40s. So, bottoms up!
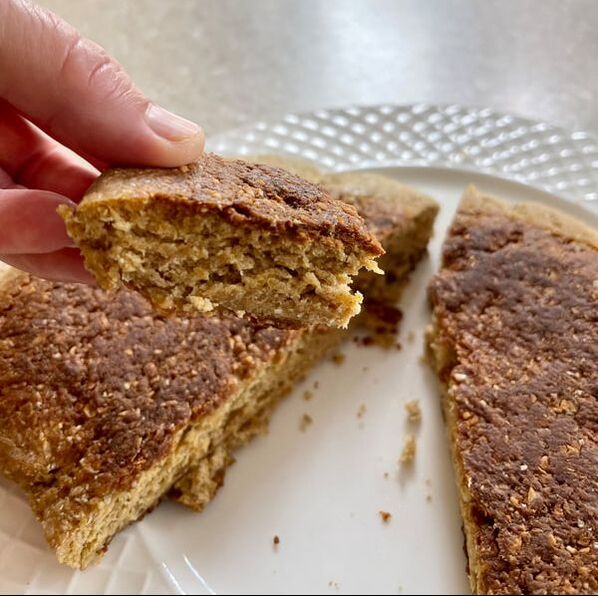
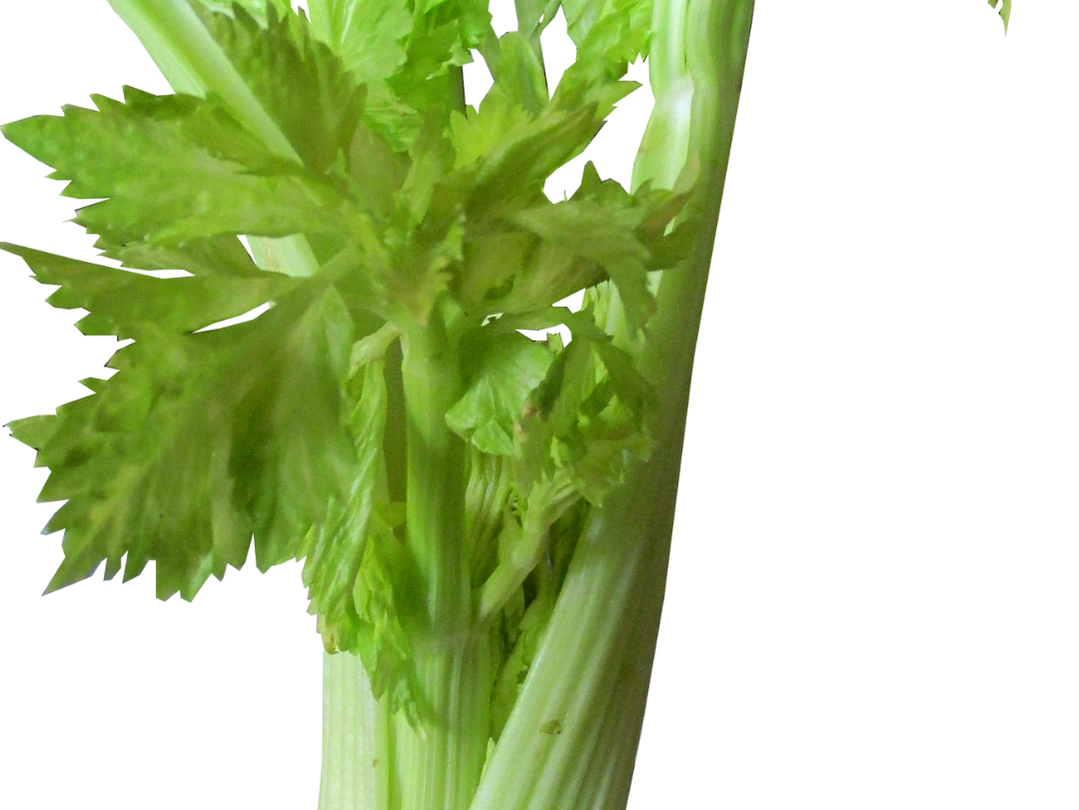
Ingredients: A whole roasted chicken deboned One cup of sushi rice or any whole-grain rice T. of coconut oil Two cloves of chopped garlic One whole onion (chopped) 1/2 bag of small carrots (cut) Four celery stalks (cut) Two leeks with three to four stalks per leek 1/2 bag of small dried prunes Three bay leaves Two boxes of chicken broth (low-sodium) Salt & white pepper to taste Directions: After deboning the chicken, set aside. If you're using sushi rice, wash it and let it sit in cold water for 30 minutes as directed. Whatever rice you use (don't use minute rice), follow the directions on the package. Sauté the vegetables in the stockpot: garlic, onion, carrots, celery, and leeks. Salt and Pepper. Add the chicken, the broth, and the bay leaves. Turn the heat up by setting the burner to medium. After 5 - 7 minutes, turn the heat to medium-low for 20 minutes to slowly cook the vegetables. While the stock pot is on medium-low, cook the rice as directed on the package, typically for 20 minutes. Add the rice to the stockpot of soup. Add the prunes. Let everything simmer for another 10 minutes. TIP: I would take the prunes out before serving the soup. They tend to get mushy. They've done their job. Added the sweetness. I didn't mind the texture but my husband wasn't a fan. Serve. It will make six to eight bowls of soup. The surprisingly delicious-tasting Scottish Bannock is a welcome change! If you're a big Outlander fan like I am, you'll appreciate the reference to Bannocks throughout the series.
Jump on the Scottish bandwagon with me! This was such a fun recipe to create. The bread wasn't what I expected at all; maybe the texture but not the flavor. It reminded me of the crusty brown bread served at steakhouses. It's hardy with earthy undertones!
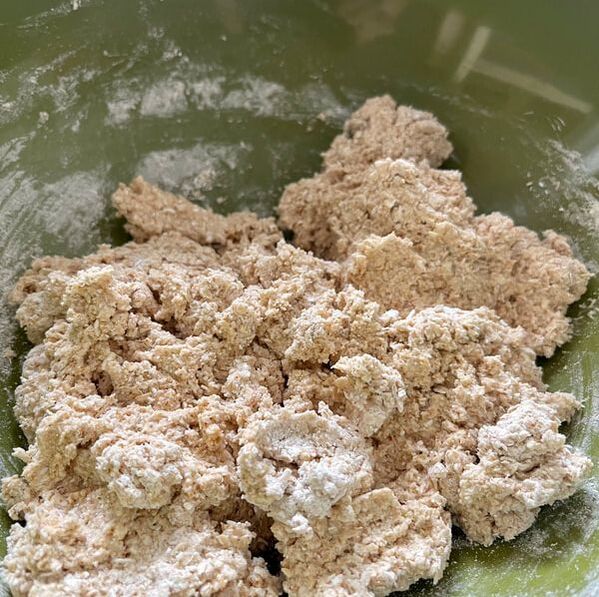
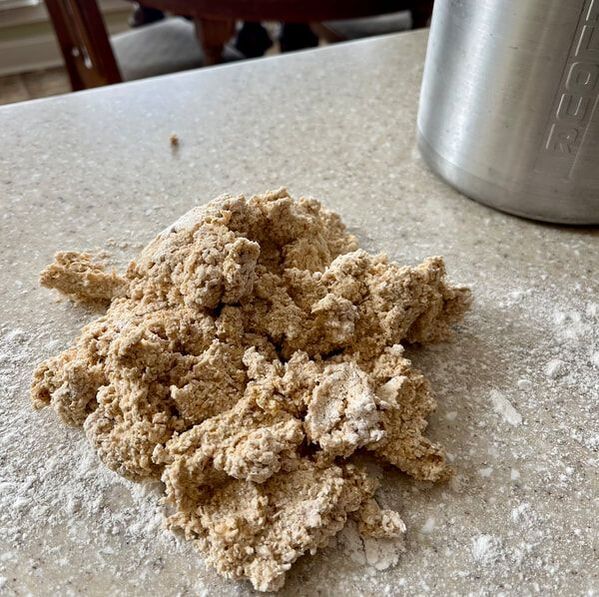
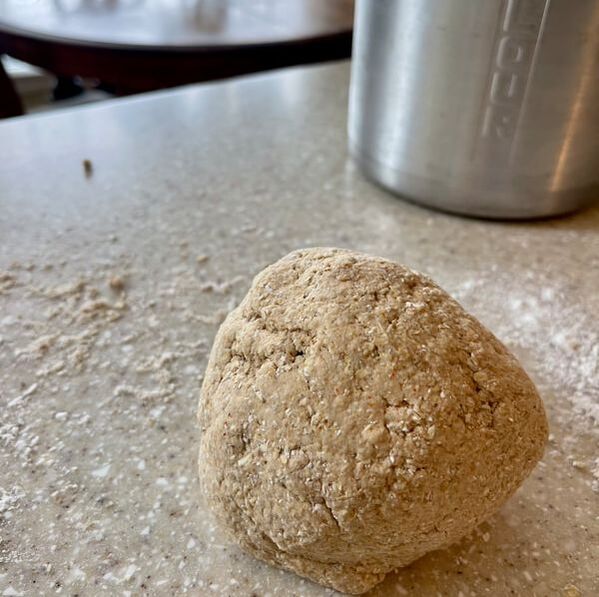
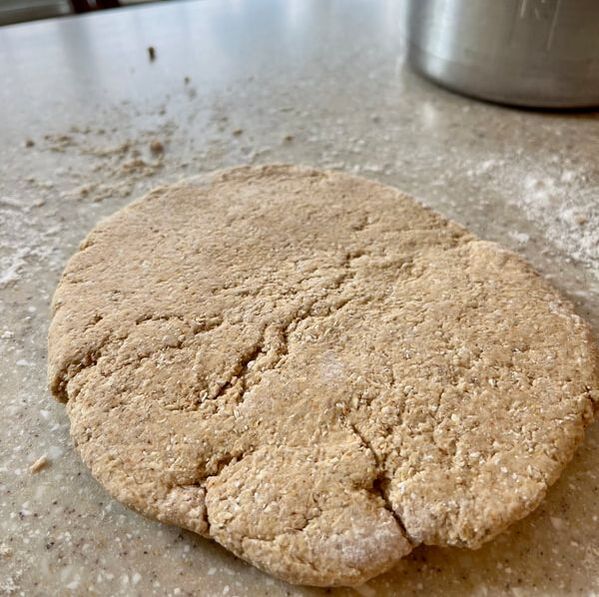
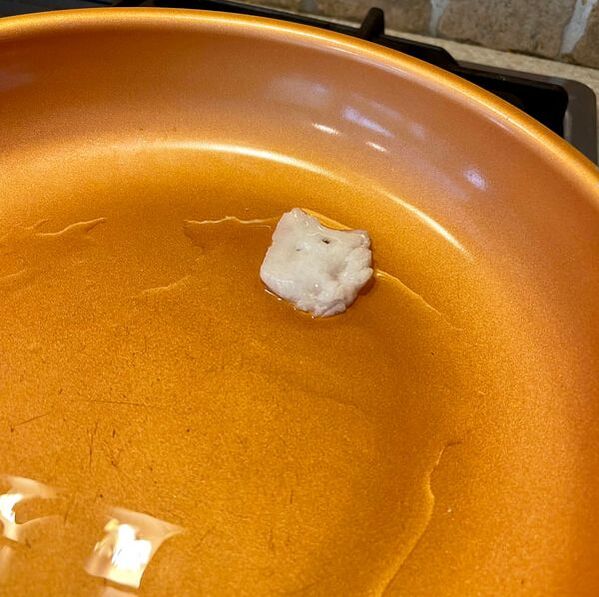
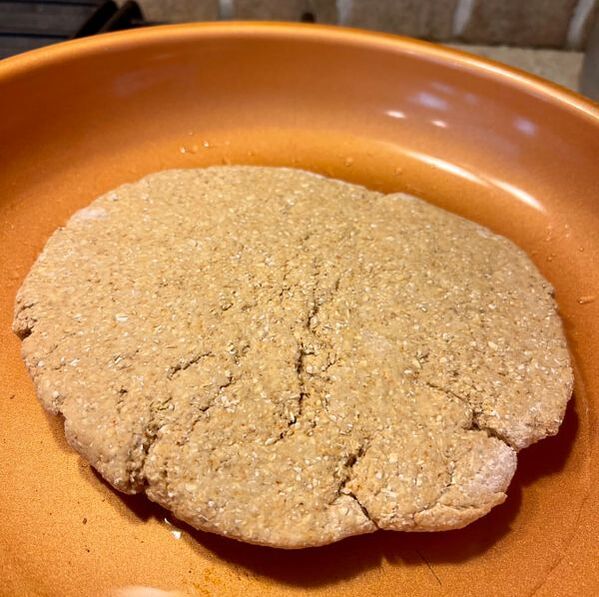
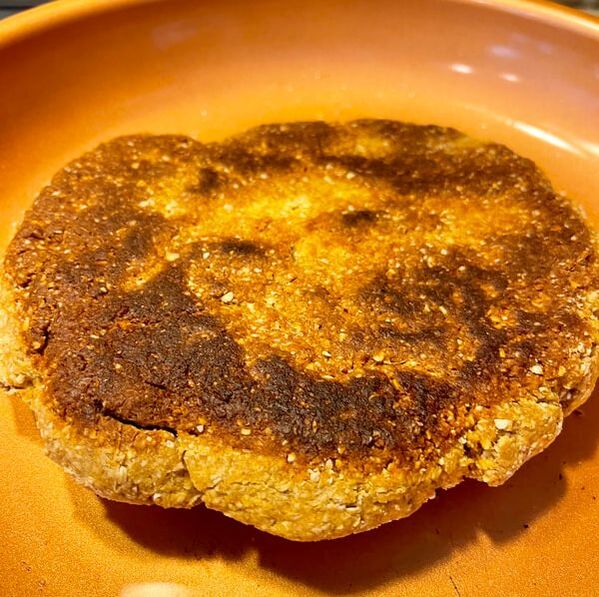
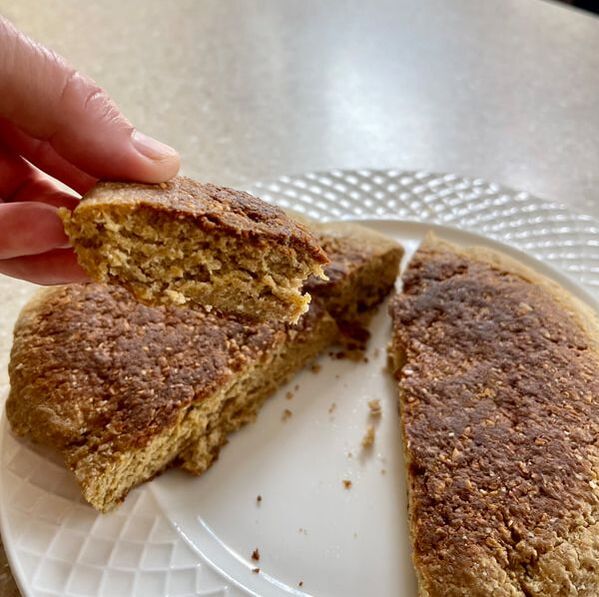
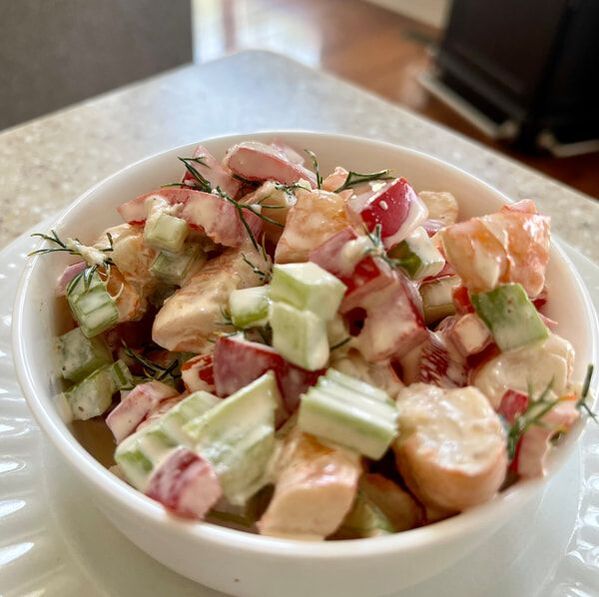
My introduction to Bannocks was through the Outlander series. It was during the height of the pandemic and I was looking for something to watch on tv. My daughter suggested the series and I got hooked! In the show, the characters are always traveling around, talking about, and eating Bannocks. I knew it was a form of unleavened bread but that's about all I knew. I enjoy historical fiction and Outlander is my cup of tea. Speaking of tea, Bannocks are a wonderful accompaniment to tea. I digress. One of the Outlander episodes that really focused on Bannocks was Jamie and Claire's return to Lallybrock. There was a Bannock mishap. Jamie had been drinking the night before and was told to eat a Bannock for breakfast (apparently it's a cure for hangovers). He said something about the Bannock tasting terrible. Mrs. Crook said she had to grind the flour by hand causing it to have a pebble-like texture. Well, the old mill was broken; the mill that grinds the flour. Jamie got pretty upset about it and decided to take matters into his own hands and fix the mill. Long story short, he fixed the mill and ended up naked in the ice-cold creek. What he said about the chill...you'll have to watch the series. So many references to Bannock's, I had to check it out. After some investigating, I created my own recipe with my little twist. Ingredients: Two cups of rolled oats One cup of all-purpose flour 1 teaspoon of baking soda 3/4 teaspoon of salt 3/4 teaspoon of smoky paprika 3/4 cup of buttermilk substitute which is 3/4 cup of any kind of milk. I used lactose-free and 1 1/2 teaspoons of freshly-squeezed lemon juice. Add the two together. Let it sit for 30 minutes. You'll see the milk look curdled. It's a great substitute. 2 T. coconut oil Directions: Use a high-powered blender to grind the old-fashioned rolled oats. Add to a mixing bowl. Add the flour, baking soda, salt, and paprika. Mix. Add the milk. Begin to form the dough. Lightly flour a surface. Knead the dough a couple of times. Form into a ball. Flatten to a circumference of approximately eight inches. Heat one T. of coconut oil on medium heat. Place the Bannock in the oil. Cook 10 plus minutes or until golden brown. Flip. Fry the other side for about 10 more minutes. Take out of the pan. Cut into eight pieces. Serve with butter or a sweet jam. Store the remaining Bannocks in an airtight container for up to three days in the refrigerator. Shrimp salad is summer goodness from the garden, fresh seafood market, and mom & pop grocery. It's tossed with a Dijon-mayo sauce that's light yet flavorful. Seafood and vegetables are a win-win combination. In my opinion, shrimp should be treated like chicken; eaten a couple times a week. It's one of the best go-to proteins, especially if you can get it fresh.
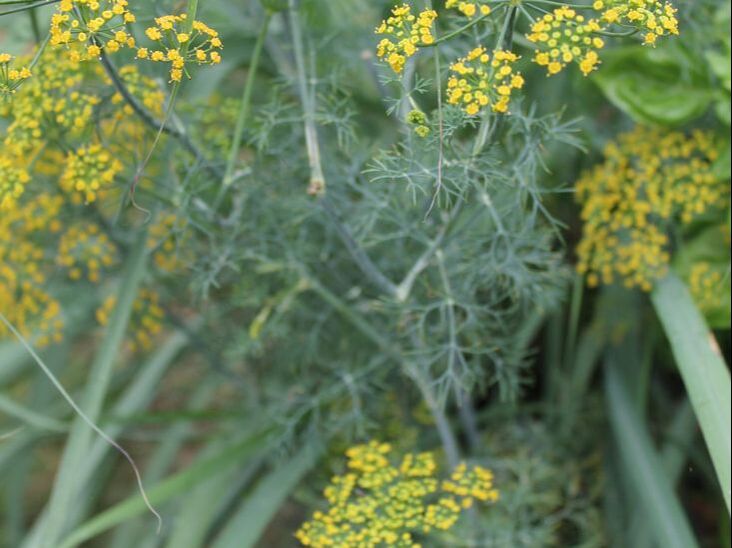
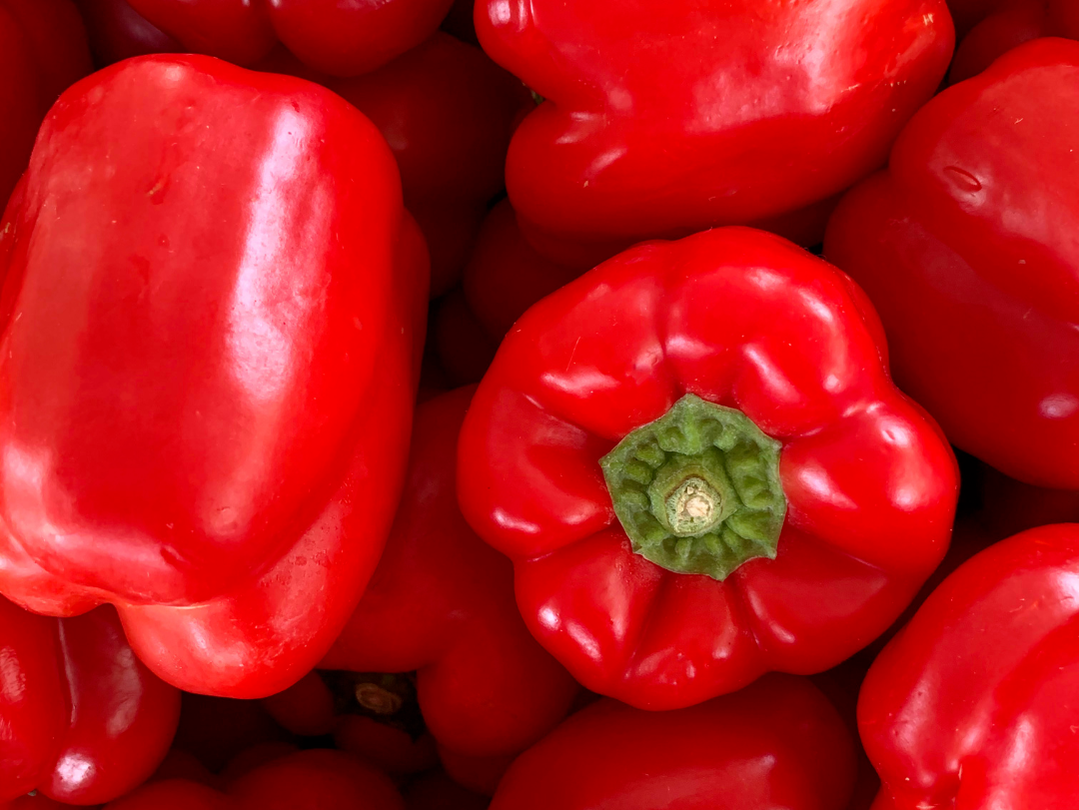
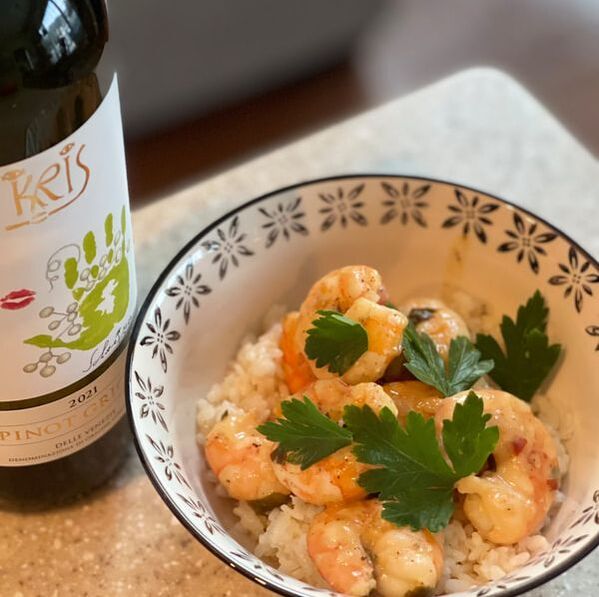
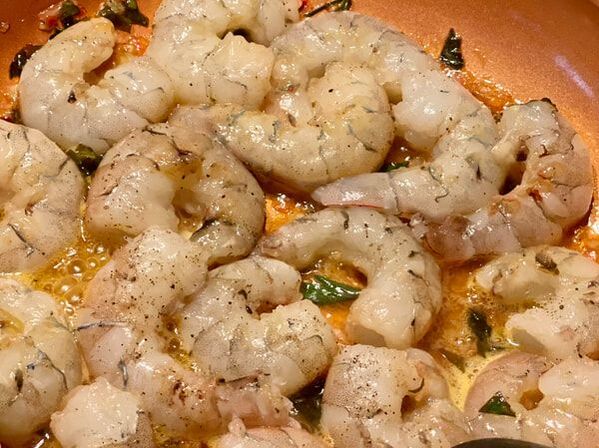
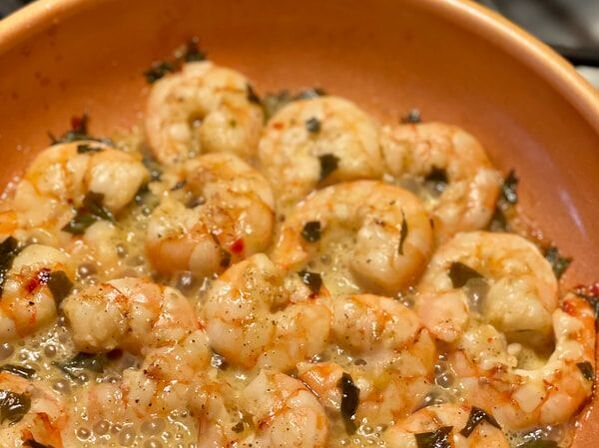
A potential problem...not everyone lives by the ocean, including me. Thankfully, there's a wonderful little seafood market two minutes down the road. The owners fish Sunday through Tuesday in the Gulf of Mexico, so the market is closed. However, when they return from Alabama up I-65 to Paducah, KY., it's all I can do to wait until the market opens again the following day. I buy several kinds of fish. If it's an evening meal, I'll buy the salmon, grouper, flounder, or red snapper. If I want to plan several meals for the upcoming days, I'll buy two to three pounds of shrimp. On this last trip, I bought two pounds. One pound was used for an Asian dish and the other for a shrimp salad. This recipe is quick and easy, just the way I like it! Ingredients and Directions for the shrimp boil: Two pounds of medium size shrimp (medium is usually 20 - 26 shrimp per pound) A stock pot full of water 1/2 cup apple cider vinegar 1/4 cup Old Bay Seasoning T. of sea salt Bring water, vinegar, Old Bay seasoning, and salt to a rolling boil. Add shrimp. Boil until the shrimp are pink (approximately 3 - 4 minutes). Take the shrimp out of the pot. Drain. Peel after cooling. Chopped veggies for the salad: Whole red pepper (chopped) Two stalks of celery (cut small) You could add other vegetables too! Ingredients for the Dijon-mayo sauce: 1/2 cup of mayo 1/2 cup of sour cream 2 T. of Dijon mustard A whole lemon squeezed for the juice 2 tsp. of red onion (minced) Handful of fresh dill (stems removed and roughly chopped) Salt and pepper to taste Mix ingredients. Add the red pepper and celery. Add the roughly chopped shrimp. Allow to sit in the refrigerator to chill. Serve. Citrus juices combine with garlic, red onion, honey, red pepper flake, and garden parsley reducing to a thin glaze to coat fresh shrimp from the local seafood market. Those who live in the Midwest are lucky. Why? We get to experience all of Mother Earth's seasons: spring, summer, autumn, and winter. However, sometimes summer doesn't feel long enough. We try to cram almost all of nature's bounty into a three-month cycle. Local farmer's markets are overflowing with customers weekly and if you're lucky enough to live in a big city...daily. Food lovers buy canned goods prepared by farmers to enjoy the freshness during the winter months. Or, we may try our hand at canning a few fruits and vegetables, especially pickles.
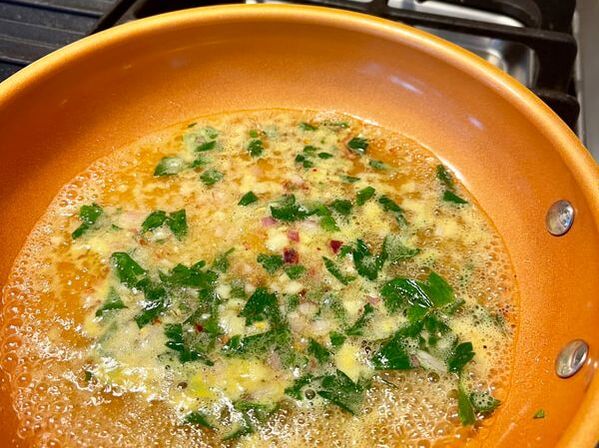
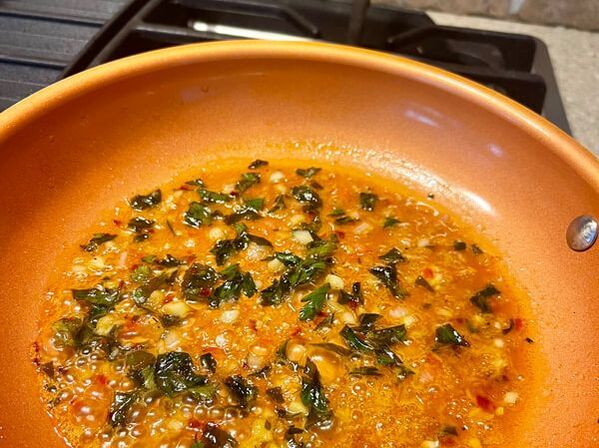
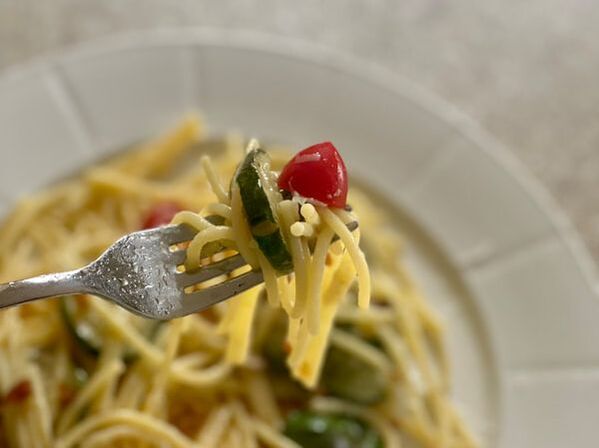
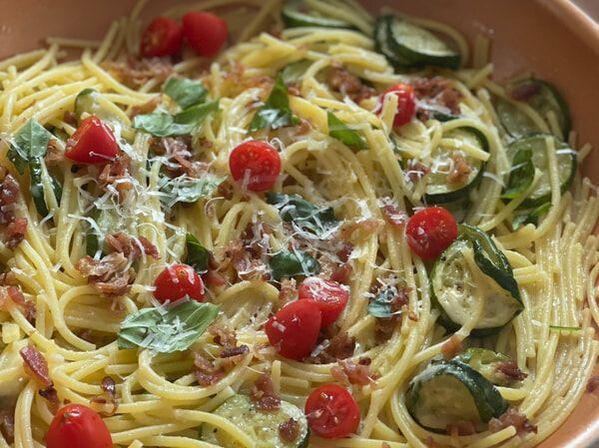
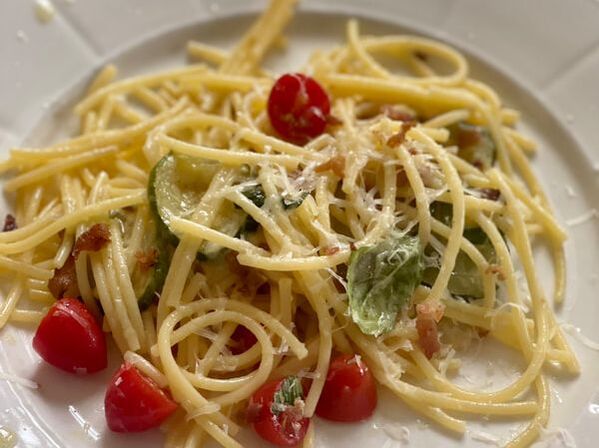
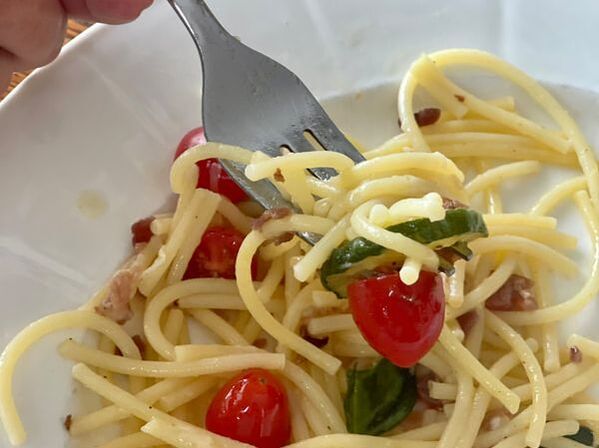
Fruits that are readily available from June through July include strawberries, blackberries, blueberries, raspberries, watermelon, cantaloupe, tomatoes, and peaches, to name a few. Oranges, on the other hand, are the freshest during midwinter to early spring. Lemons and limes are in season all year round. You'll notice your favorite brand of orange isn't available at the local grocery from July through September. Off-brands will be on hand but there's a difference. One difference is they lack juiciness. You'll have to use more to have freshly squeezed juice. Also, they're not as sweet. For the citrus glaze on the shrimp, we'll increase the sweetness with a squirt of honey. Let's get to the recipe. Ingredients for two servings: 1 pound of medium to large fresh shrimp Three medium size oranges One large lemon 1/2 lime T. EVOO 1/4 tsp. salt Dash of pepper One clove of garlic - minced One T. of red onion - minced 1/2 tsp. red pepper flakes T. of honey Half a handful of fresh parsley - torn or cut One cup of sushi rice Directions: Peel and devein the shrimp. Set aside. Prepare the sushi rice as directed. I use chicken broth instead of water. Sushi rice will require a 30-minute soak before cooking. Then, a 15 to 20-minute cook on the stovetop. Take this into consideration before beginning the citrus glaze. Squeeze the juice from the oranges, lime, and lemon. Add the EVOO, S & P, garlic, red onion, honey, and parsley. Whisk together and add to the sauté pan. After a few minutes on medium heat, the citrus mixture will reduce by half Go ahead and salt and pepper the shrimp. Add to the reduced citrus mixture in the sauté pan. Sauté for two minutes on each side. The shrimp should appear light pink to pale. After it's through cooking. Set aside. In a bowl, add a serving of rice. Top it off with half a pound of citrus shrimp. Add a bit more parsley. Maybe a bit of orange zest. Enjoy! Load the fork with the best-tasting pasta bite EVER! After boiling the gluten-free pasta, sauté it in the garlic-infused EVOO to soak in all the juices. Combine Parmesan cheese, fresh herbs, and tomatoes and you'll never prepare pasta any other way again.
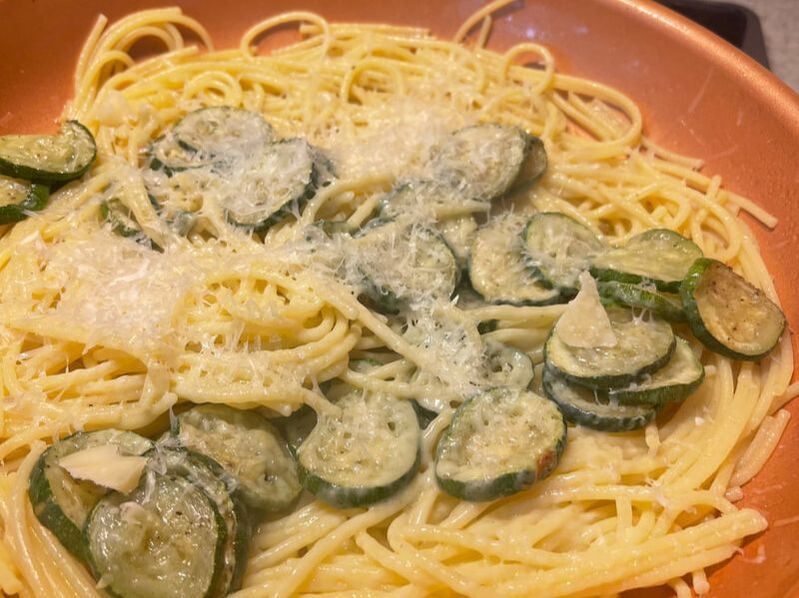
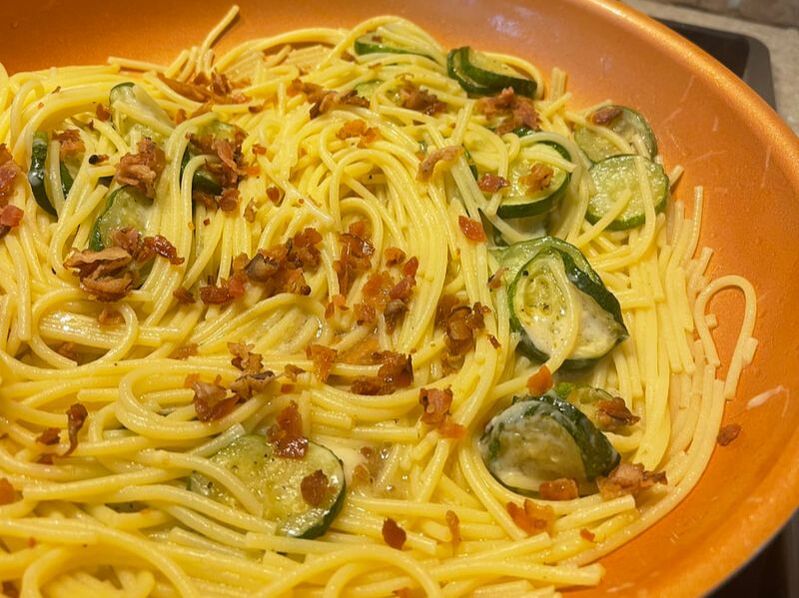
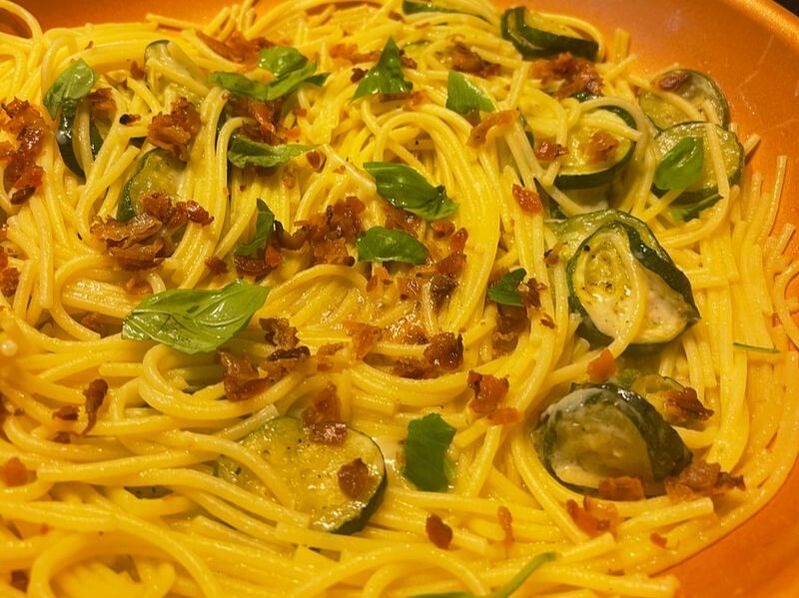
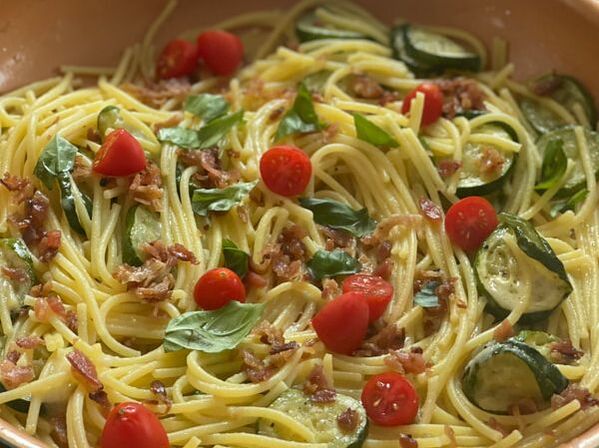
Have you ever heard the saying, "There's no such thing as an original idea?" This may or may not be true. Today, it's true. My dish was inspired by a handsome Italian man frying veggies.
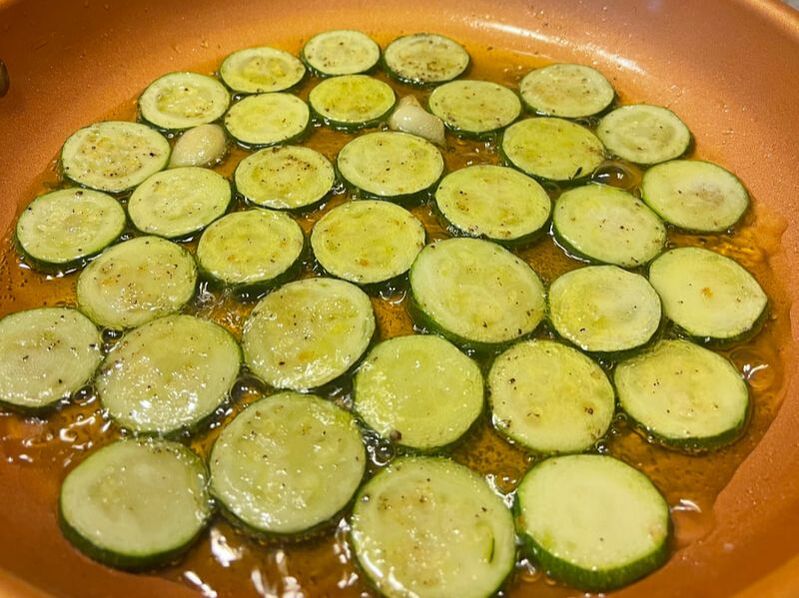
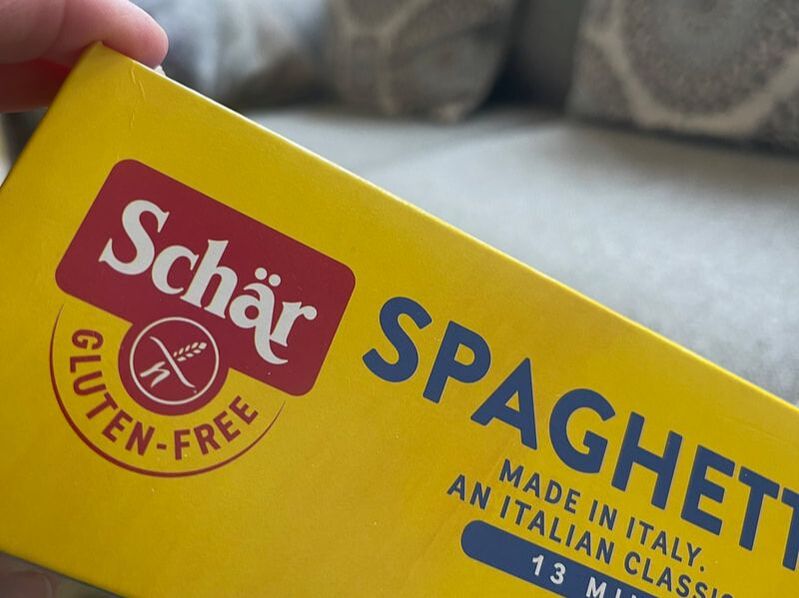
As I was scrolling through Instagram, I started watching the tall, dark stranger demonstrate techniques used by Italian cooks and speaking broken English. He was rubbing the garlic on the crusty bread. He was talking about pasta. And, he was frying zucchini in a bit of EVOO. It was mesmerizing. I'm not a big fan of frying anything or nibbling on zucchini but seeing the Italian guy flipping the 1/4-inch slices of zucchini in hot olive oil motivated me to try it again. I had to make a quick trip to the market. I went to the local vegetable stand up the road and bought two medium-sized zucchini. Typically, I'll pass right by the green squash and onto the yellow squash. Not this time. It's all about trying all of summer's glorious harvest. If you haven't been to the local vegetable stand this summer, get over there. So much goodness. So much flavor. So much JOY! Ingredients: Two medium-size squash 4 T. of EVOO 2 cloves of garlic smashed and cut in half 1/2 lb. of gluten-free spaghetti 1/2 cup of freshly grated Parmesan cheese plus enough to sprinkle on top Four slices of crispy bacon or a handful of real bacon in a packet A handful of cherry tomatoes Six large basil leaves Salt and Pepper to taste Directions: Follow the directions on the package to boil spaghetti. Be sure to add pasta to salty, boiling water. Take the pasta out of boiling water a minute or two before Al dente. Reserve 1/2 cup of pasta water. Slice the zucchini into 1/4-inch slices. Add 4 T. of EVOO to sauté pan. Add the two cloves of garlic. Place the zucchini in the frying pan. Salt and pepper. Fry on both sides for approximately two minutes on each side. Take the zucchini out of the oil and place it on a paper towel. Take the garlic out of the EVOO and discard. Add the pasta to the EVOO and the 1/2 cup of reserved pasta water. Add 1/2 cup of Parmesan cheese. Mix. Add the zucchini back to the sauté pan. Fold into the pasta. Add the bacon. Add the fresh basil leaves. Add the tomatoes. Sprinkle the remaining Parmesan on the top of the pasta dish. Serve. Summer isn't summer without bruschetta. It's such a simple thing; tomatoes, basil, EVOO, S&P, and crusty bread. It's almost too pretty to eat...almost.
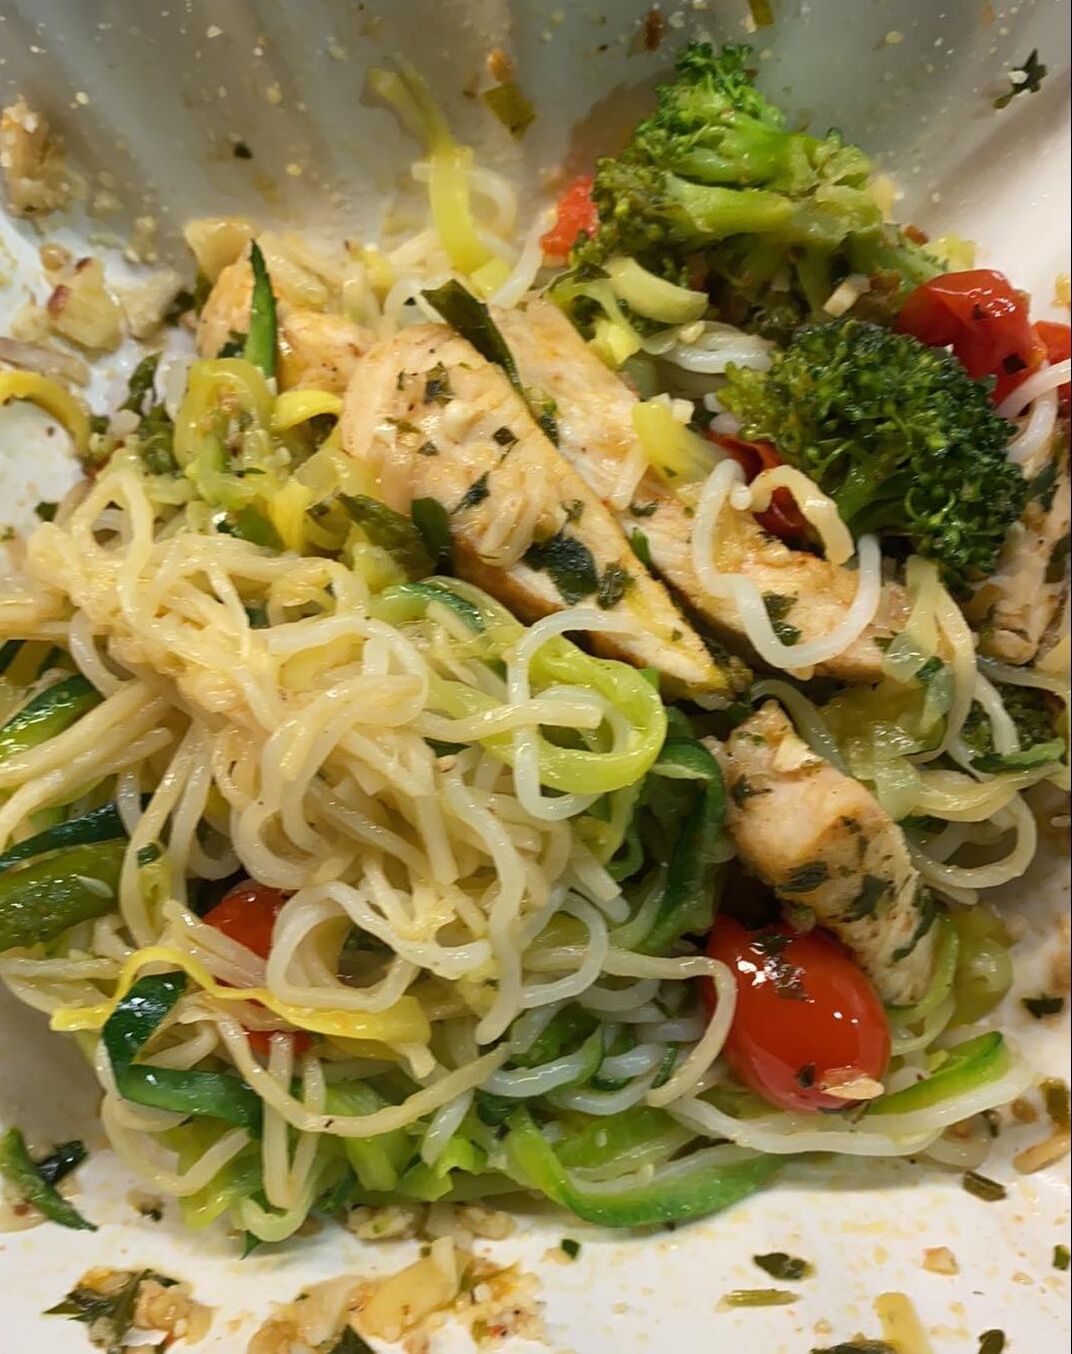
Remember, it's the simple things in life that keep us going. In case you've forgotten this summertime treat, I've got a simple recipe. Ingredients: Container of heirloom cherry tomatoes A large basil stem (approximately 6 - 8 large basil leaves) Good EVOO Salt and Pepper to taste Crusty bread of choice (I chose a gluten-free bagel) Directions: Cut tomatoes in half. Drizzle with EVOO and use salt & pepper to taste. Julienne basil leaves and add to the tomatoes. Gently toss. Set aside. Turn on the stovetop and add a bit of EVOO and a clove of fresh garlic smashed. Move the garlic around the pan. Place bread in the skillet. Let it lightly toast on one side. Remove from the skillet. Place on a serving platter with the tomato mixture. Pile the tomatoes on top of the bread and it's bruschetta time. Tomato and garlic sauté with vegetables, chicken fajitas, almonds, and shirataki noodles. Now is the time to experiment with fresh vegetables from the local farmer's market. In the heat of summer, vegetables in season include zucchini, yellow squash, tomatoes, peppers, green beans, chard, tomatoes, eggplant, and more. It's a bouquet of bright, colorful vegetables.
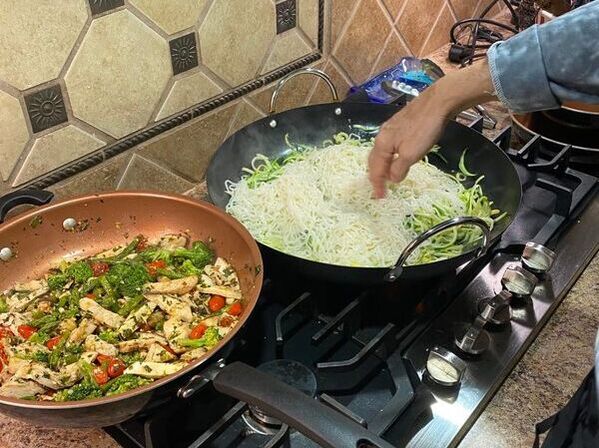
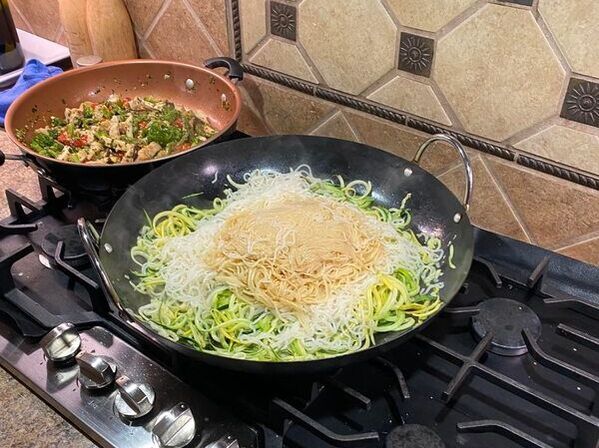
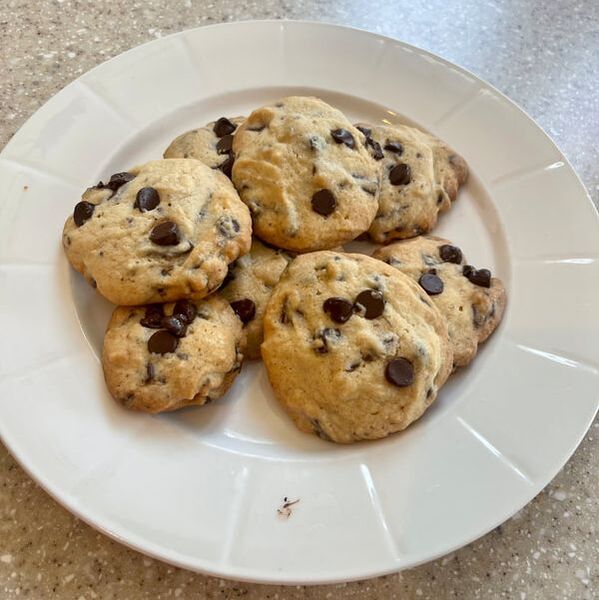
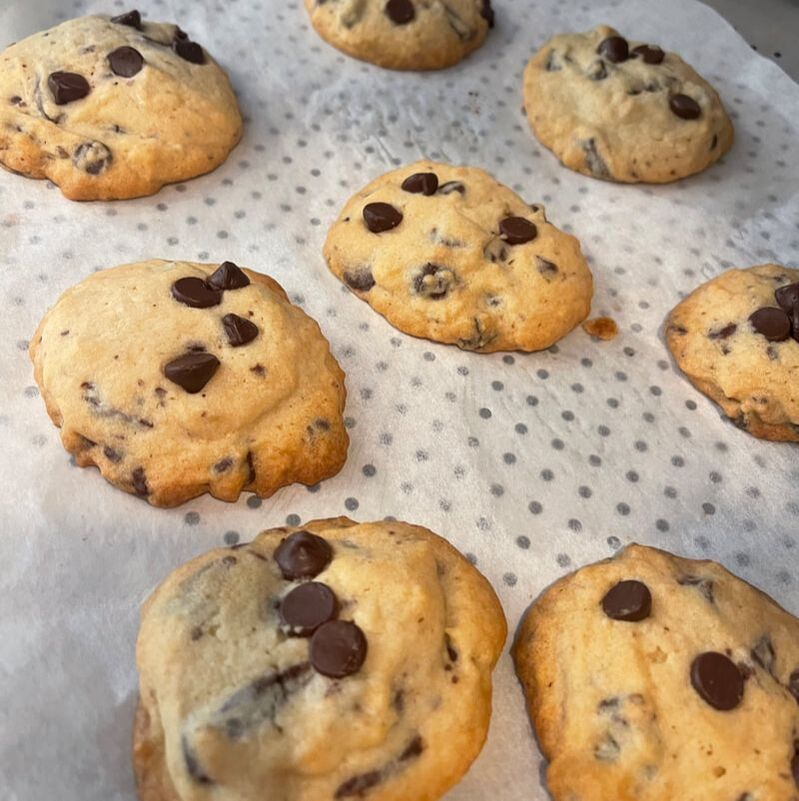
Chef Laura has prepared a beautiful spaghetti dish that's low in carbs, gluten-free, sugar-free, and full of flavor. Gluten-free eating isn't just a thing. There are people with severe intolerance like those with celiac disease, and others that are gluten-sensitive. And sugar, don't get me started. We all could stand to cut out a little. Though most belly fat is sugar-related and is something we can control, a more difficult cause of belly fat is cortisol. Cortisol is a hormone caused by stress. Excess cortisol stimulates glucose production which converts to fat. It's trickier to control but with meditation and stress-reducing exercises like yoga, can be conquered. Laura was very excited about the recipe and the fact that the noodles have zero carbs. I've read some reviews on shirataki noodles and it's a mixed bag. Most say it doesn't have much flavor. With the garlic and tomato sauté, the pasta can absorb some of the flavors from the EVOO. If you're not a big fan of noodles, you can always try spaghetti squash or some suggested cabbage noodles. Ingredients: 3 T. of EVOO 2 cloves of garlic (minced) A handful of cherry tomatoes cut in half 1 cup of broccoli (chopped) 10 tender asparagus (cut in 1/4 inch slices) 1 zucchini (chopped) 1 yellow squash (chopped) 1/2 teaspoon of ginger powder or use fresh ginger 2 bags of shirataki noodles (available at most any grocery store) Directions: First, sauté the garlic and tomatoes. Add the remaining vegetables to the sauté pan along with ginger. To cut down on time, use already-cooked chicken fajitas. Add to the sauté pan. Prepare the noodles. Preferably, boil first (approximately three minutes), and remove from the boiling water into a larger sauté pan. Add salt and pepper to taste. Combine with the vegetables and chicken. Top off with some toasted almond slivers. Dinner is served. Crispy mint chocolate chip cookies made with Andes candies and dark chocolate chips. It's a delicious treat and the cookies are amazing! When in Florida, one of the members of our party brought back some thin and crispy mint chocolate chip cookies from the grocery. I very rarely eat cookies but these looked too good to pass up. After the first bite, I thought it was the most spectacular cookie I'd ever tasted...and this was store-bought.
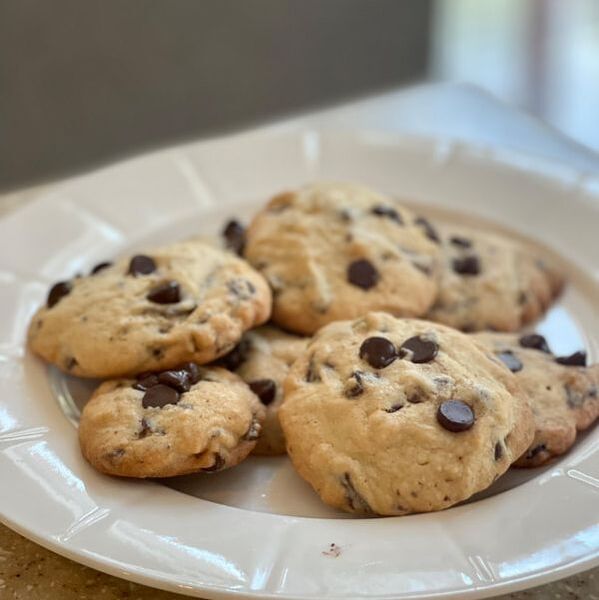
After we got home from vacation, I decided to try and recreate the flavors. I had a chocolate chip cookie recipe that I've used in the past. This time, I decided to try the Andes candies along with dark chocolate chips. It's a match made in heaven, and my grandkids agree. Ingredients: 2 1/2 cups of all-purpose flour 1 tsp. sea salt 1/2 tsp. baking soda 2 1/2 sticks of room-temperature butter 1 cup of white sugar 1/2 cup of packed light brown sugar 2 eggs 1 tsp of vanilla extract 1 cup of Andes candies chopped 1 cup of dark chocolate chips (hold on to 1/4 cup) Directions: Mix together the flour, baking soda, and salt. Set aside. In a separate bowl, cream the butter and both sugars. Add the two eggs and vanilla extract. Combine the butter mixture with the flour mixture. (I used a hand mixer for creaming the butter and mixing both bowls together). Fold in the chocolates. Line a baking sheet with parchment paper. Drop the cookie dough about a tablespoon size onto the cookie sheet. You can fit about 12 - 16 cookies on the sheet if placed two inches apart. Top off each cookie with about four chocolate chips. Bake in a 350-degree oven for 10-13 minutes. Rinse and repeat with all the cookie dough or wrap up the remaining dough in plastic wrap and save it for later. When taking the cookies out of the oven, place them on a rack to cool. |
Written byLiz Latta Archives
April 2024
Categories
All
|

 RSS Feed